
The purpose of the Albi workbook feature is to:
1. Create a predefined price list to create an estimate from
2. Create an estimate and send a contract
3. Take components from the estimate and create them into a work order and/or purchase order
Let's go over how it all works!
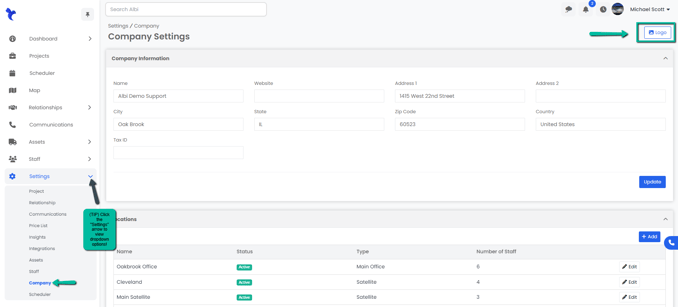
1. Go to Settings and select Company
Here you want to make sure that you have your company logo uploaded.
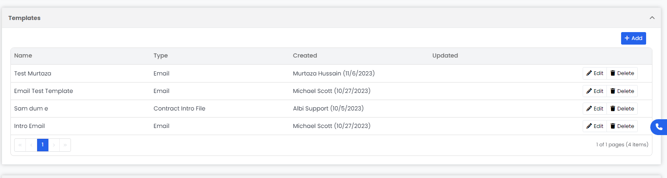
Tip: If you go to Templates you can predesign templates for your contracts, work orders, and purchase orders. This will allow you to have an intro template and a closing template for all files. Additionally, you can add a signature directly on the template.
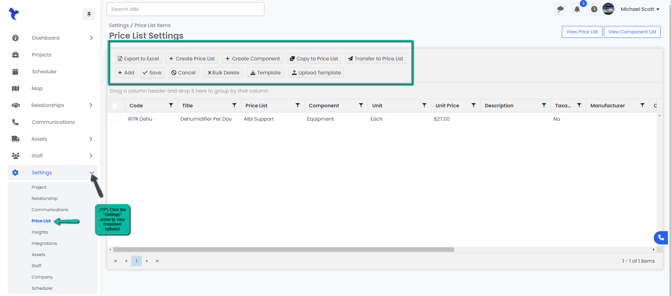
2. Go to Settings and select Price List
From here, you will want to add all of the line items you are going to reference within your price list.
To add a line item you want to follow these next steps:
- Select the Add button and enter the a Code for your item
- Title your Item
- Select which Price List this item will belong to (Note: You have the ability to add multiple Price Lists)
- Add a Component. This is where you want to select what kind of item this is. For example labor, material, equipment, etc.
- Under Unit, you want to add how you are billing for this item- per unit, per hour, per square feet, etc. You can also add a Unit Price.
- Notate a Description
The rest of the fields are not required but you can also add information such as...
* Is the item taxable?
* Manufacturer
* Product
* Size
* Product Line
* Product Type
* Thickness
Once that is added you can select Save
Tip: If you download the Template, you can mass type items in Excel and upload them into Albi all at once!
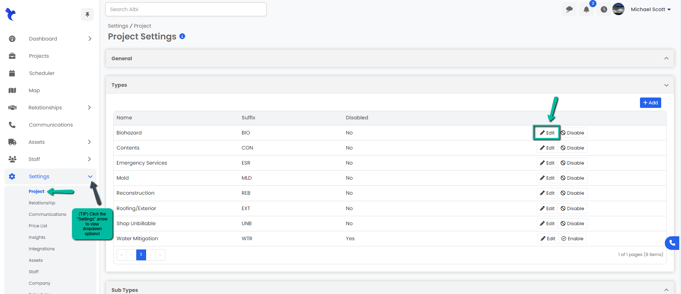
3. Go to Settings and select Projects
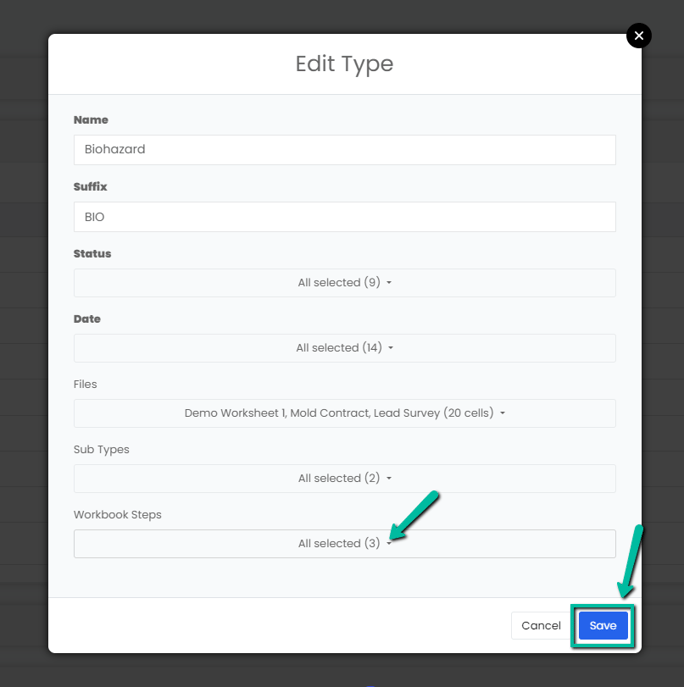
Here you want to make sure that you add the workbook steps to all project types that you want to have this feature enabled for.
In order to do this, you will want to edit the Type and add the workbook steps, and select Save.
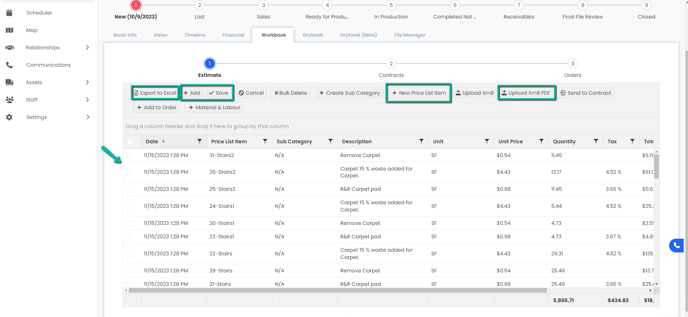
4. Once you ensure that the Project Type you are working with has the Workbook steps enabled, you will want to go to the Workbook tab inside the project itself.
Here you have the ability to add different items to the Estimate. Once you have added all the line items you need for your estimate and the quantity of such you will get an automatic estimate total. You also have the ability to export line items to Excel Sheet.
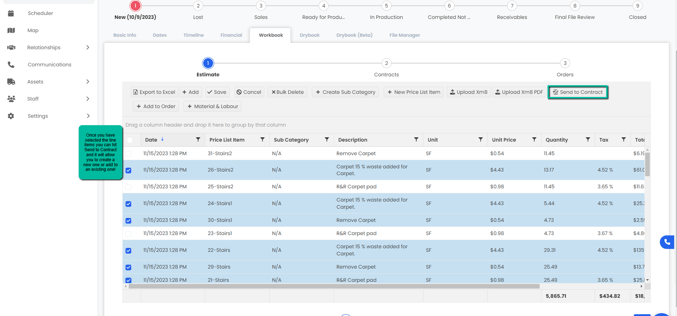
5. By selecting all or specific line items you can send these to a Contract.
Once this is done, you can now go to the Contract step (2) and you will now have your contract with the intro template you had added. You can also send the contract for signature to the homeowner.
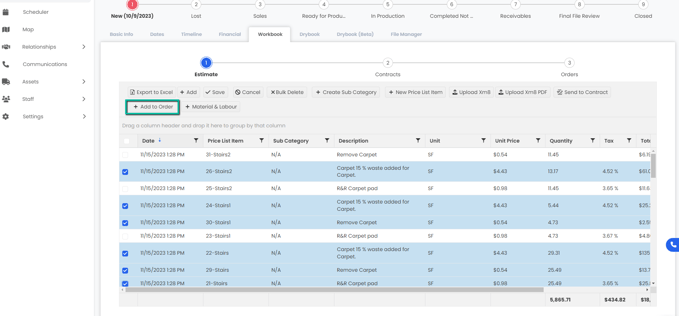
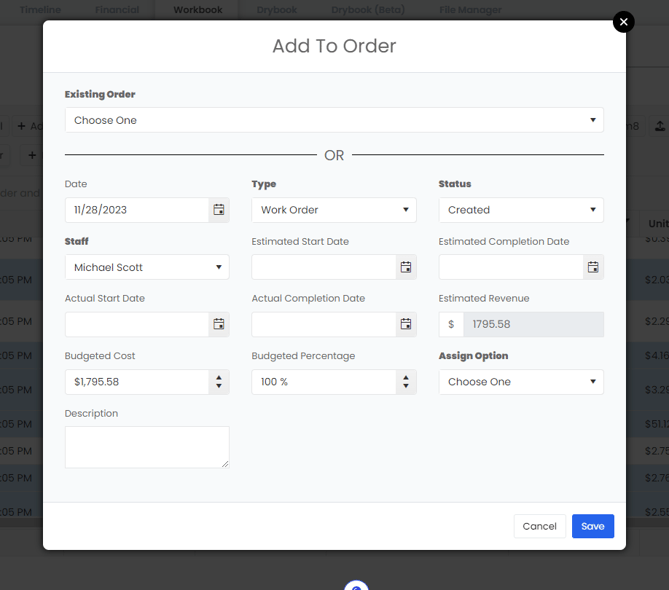
6. To create a Work Order, all you have to do is select the line items needed and select Add to the order. Here you will be able to add to these line items to an existing work order or create a new one.
Once you have the work order created, you can send for signatures.
Tip: Only bold fields are required to be filled out.
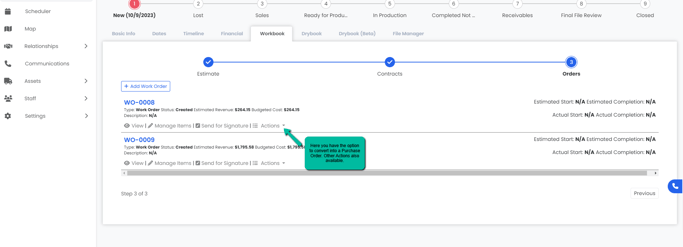
7. Once you have your Work Order created, under Actions you will be able to convert the work order into a Purchase Order.
For more information please see the video linked HERE or contact your account manager.