
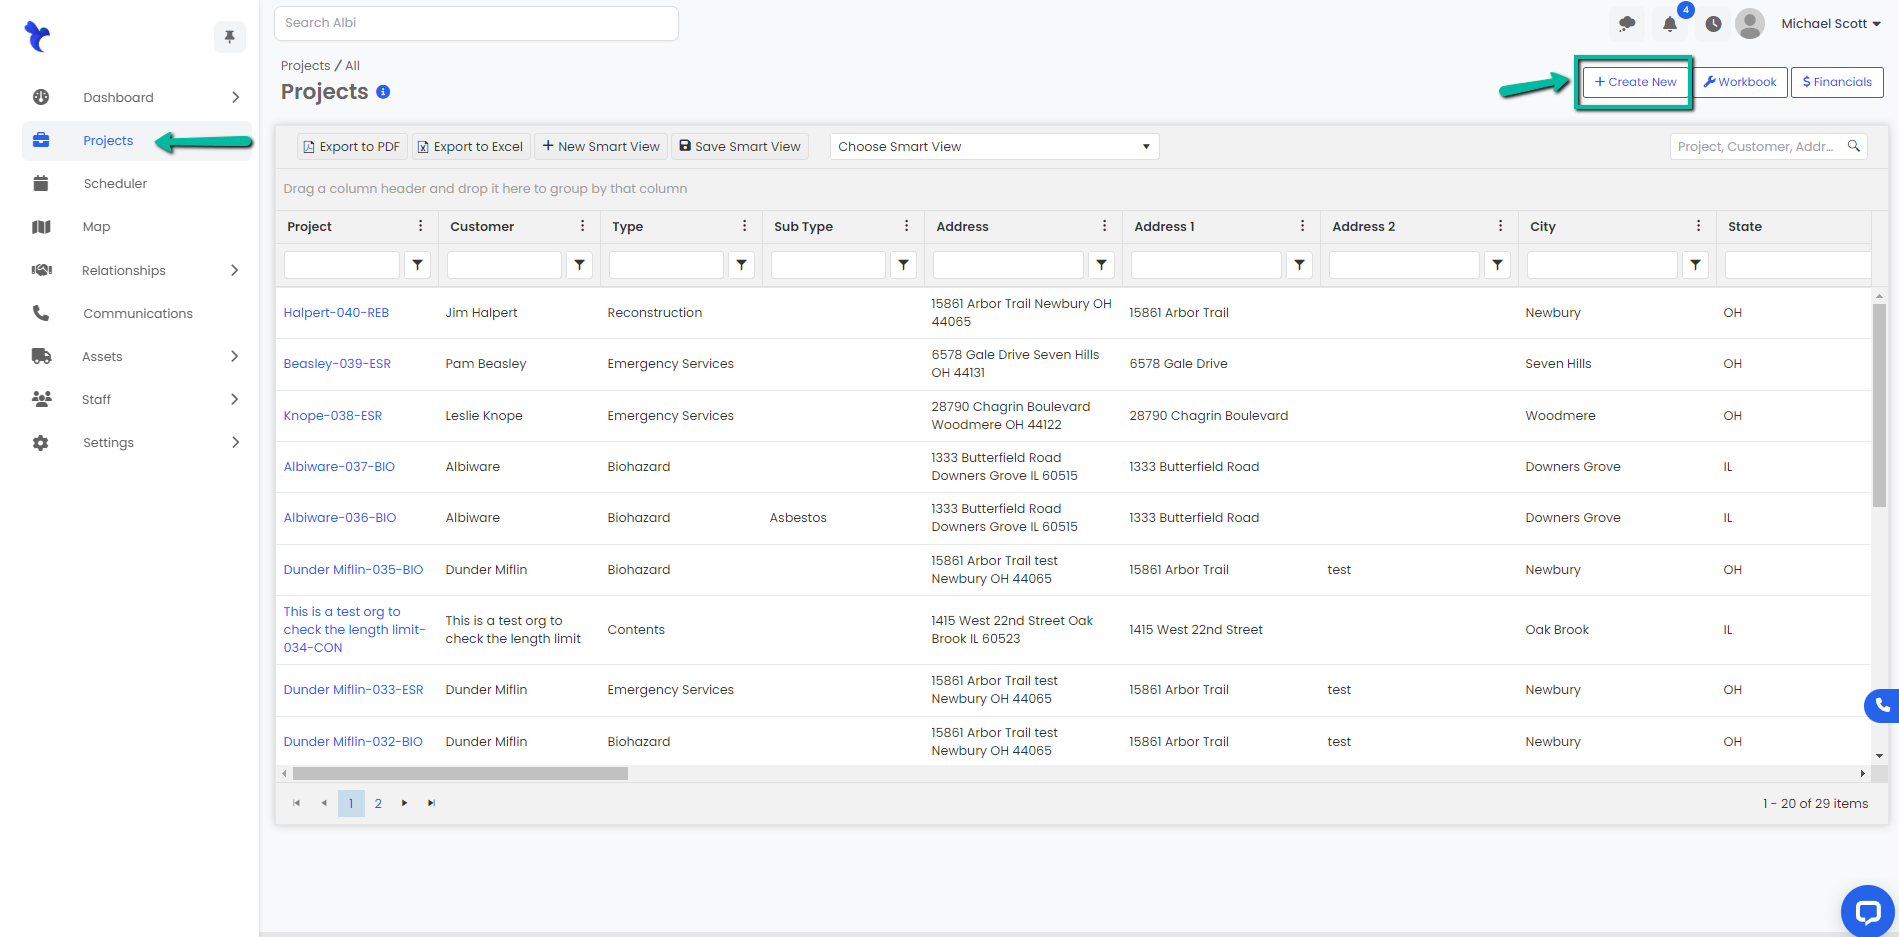
- Navigate to the Projects module using the sidebar and click on the Create New button.
- You will be directed to the New Project form. This is where you will fill in your Project’s information. Keep in mind that the bold fields are required in order to submit the form.
- First you will have to input the Customer information. You have the option of choosing an existing customer that is already a contact in your database or creating a new customer.
- Organization Name: You only need to fill this out if the customer is a company. For example, Julies Property Management.
- Contact First Name: First Name of the contact that is now the customer.
- Contact Last Name: Last Name of the contact that is now the customer.
- Phone Number: Phone number for customer.
- Email: email for customer. Note: if email is put in incorrect format, it will not create project in integrations.
- Next, you will input the project information:
- Project Type: (customizable in project settings)
- Property Type: (not customizable residential or commercial)
- Project Sub Type: you can drill down the project type (water) into subtypes (roof leak, sump pump, etc). (customizable in project settings)
- Location: You can assign the project to a specific company location (i.e. satellite office).
- Sandbox: Free text field for project information. You can use this to put lockbox code information for example.
- Same address as customer: When checked, the project address will have the same address as the customer. If unchecked, you can input a different address. This is useful for customers that have a different billing address than the project address.
- Now, you will input the referrer organization
- Referrer (not required): contact or organization that referred the job. Can be existing, or you can create a new one.
- Referral source (required): general source that referral came from.
- Salesperson (not required): Staff member responsible for bringing in project.
- Note: when you select a referrer it will autopopulate the referral source linked to that referrer in their organization or contact file, and it will also autopopulate the salesperson tied to that referrer.
- Assign Staff Member: You can only assign one staff member on this page, but no worries- you can add more once the project is created already.
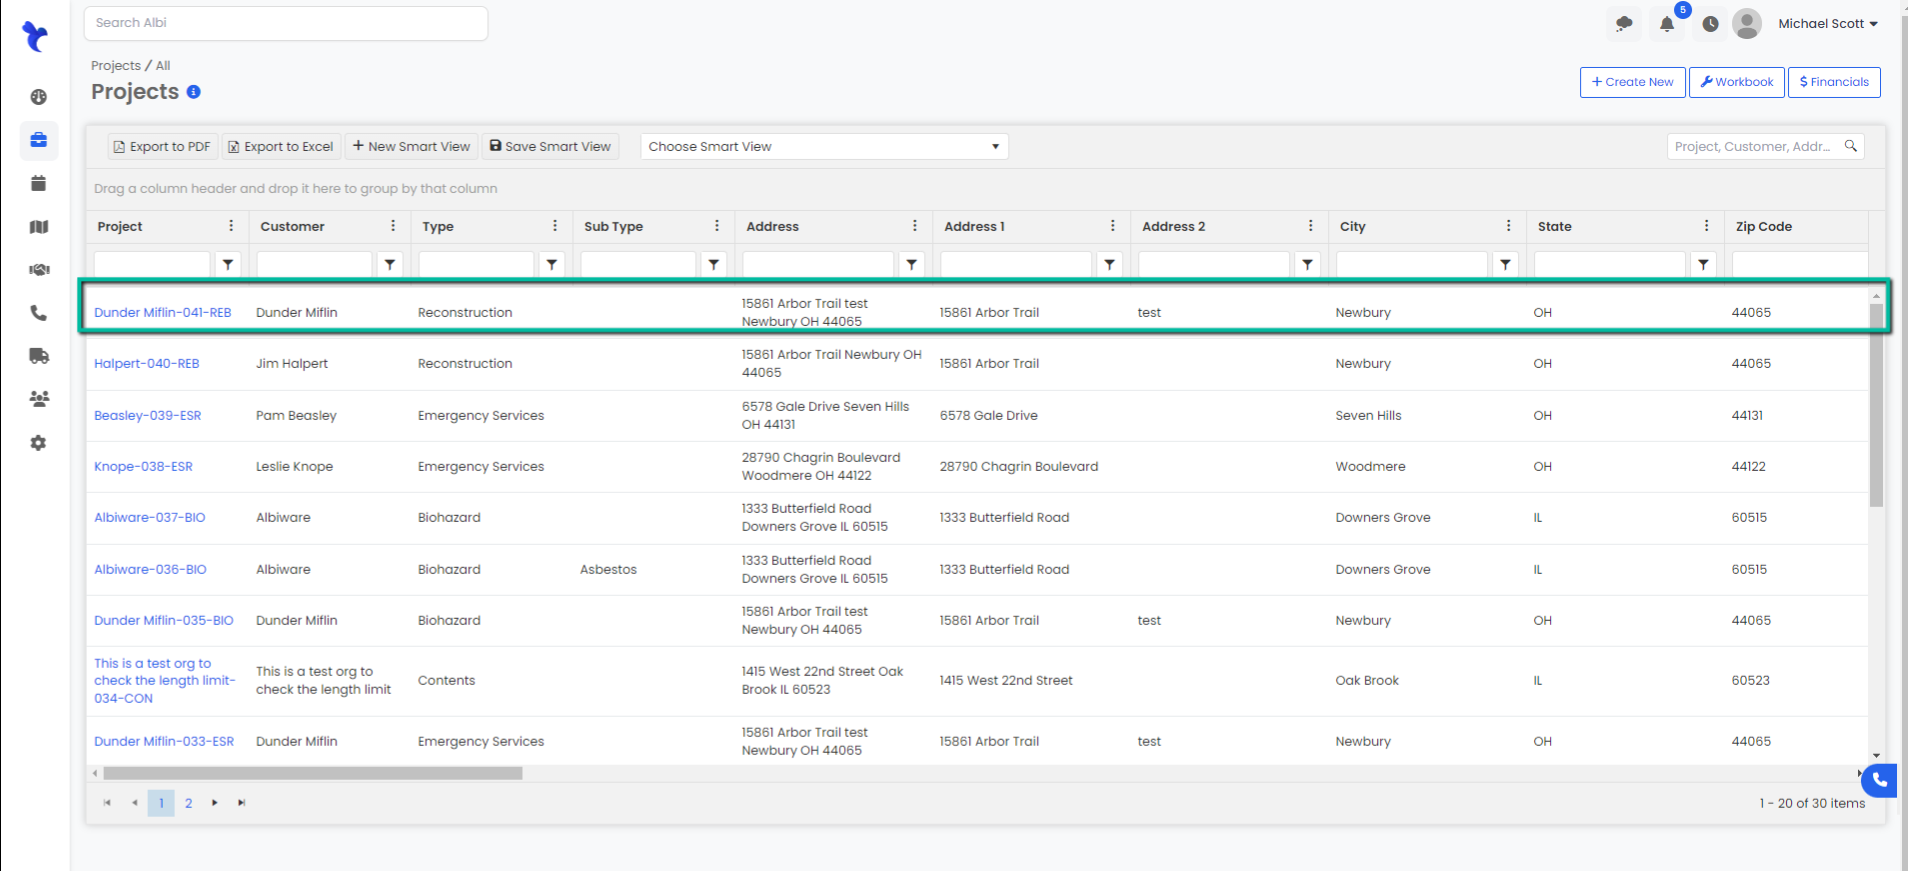
- Click the blue Save button to save the Project. You should now be able to see your new project in the table.
Other tips:
All project information can be customized by going to settings > project including all:
- Project naming conventions
- Project Statuses
- Project Roles
- and more!