Adding or Removing Equipment
Adding Equipment
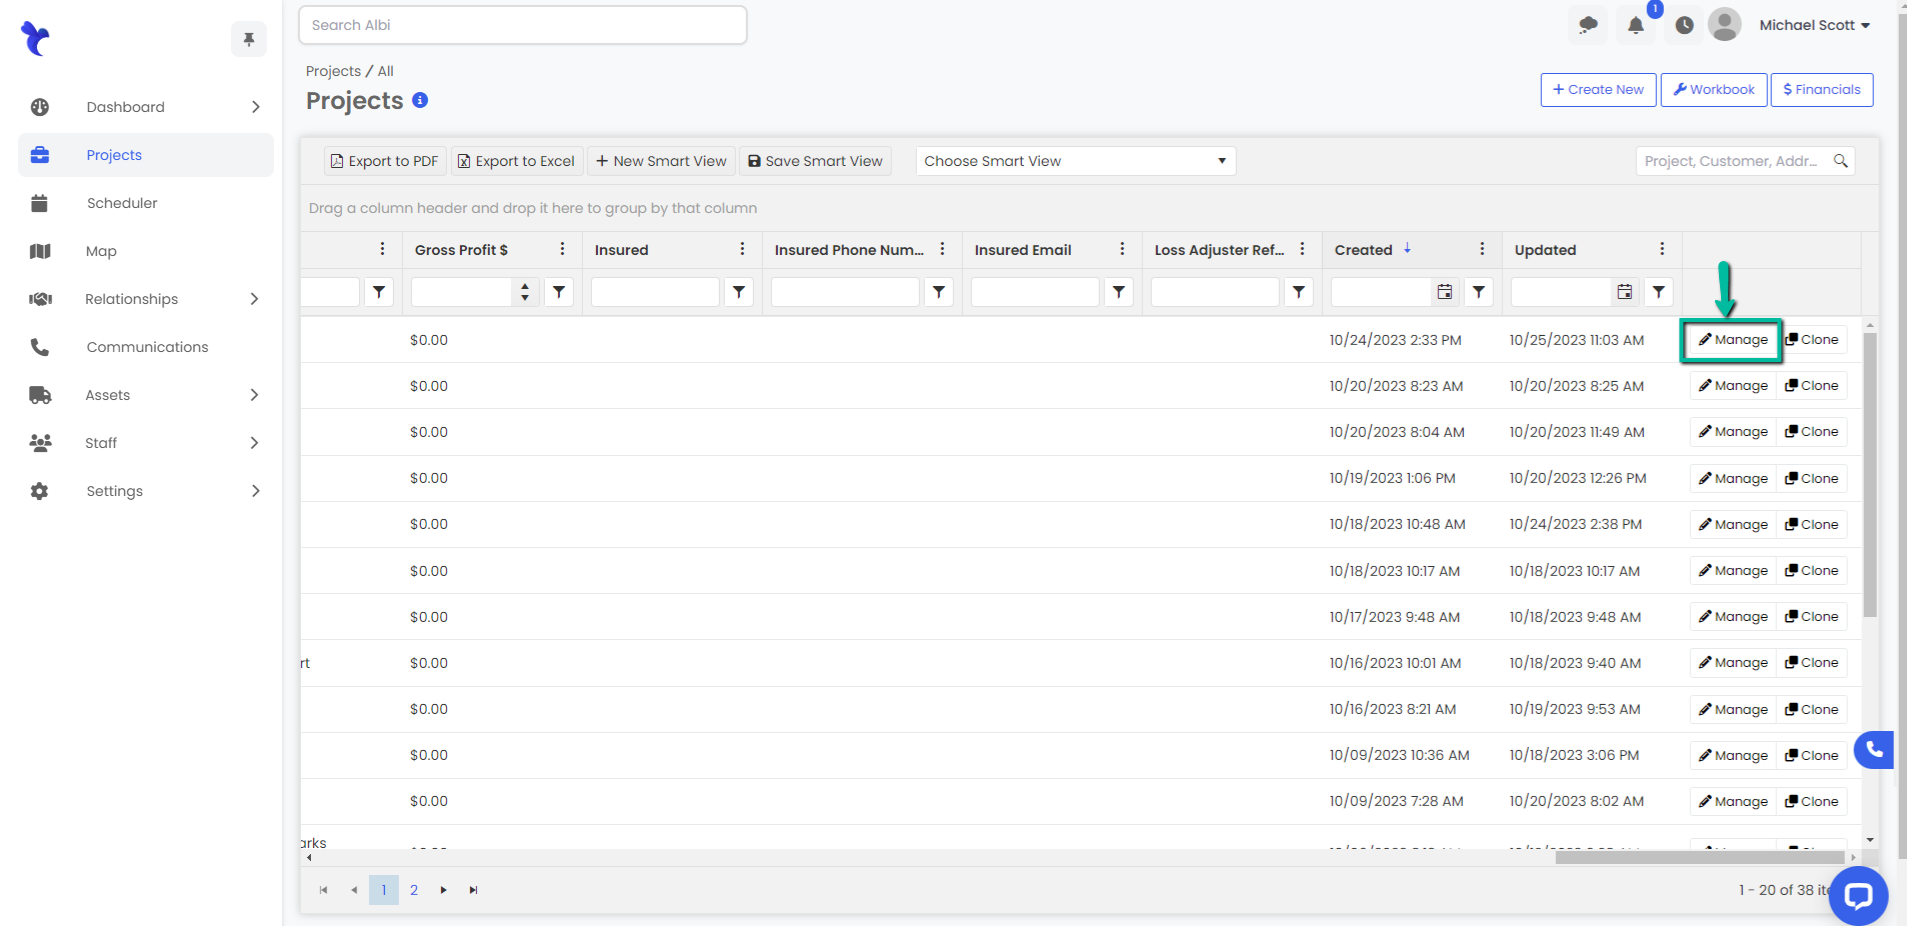
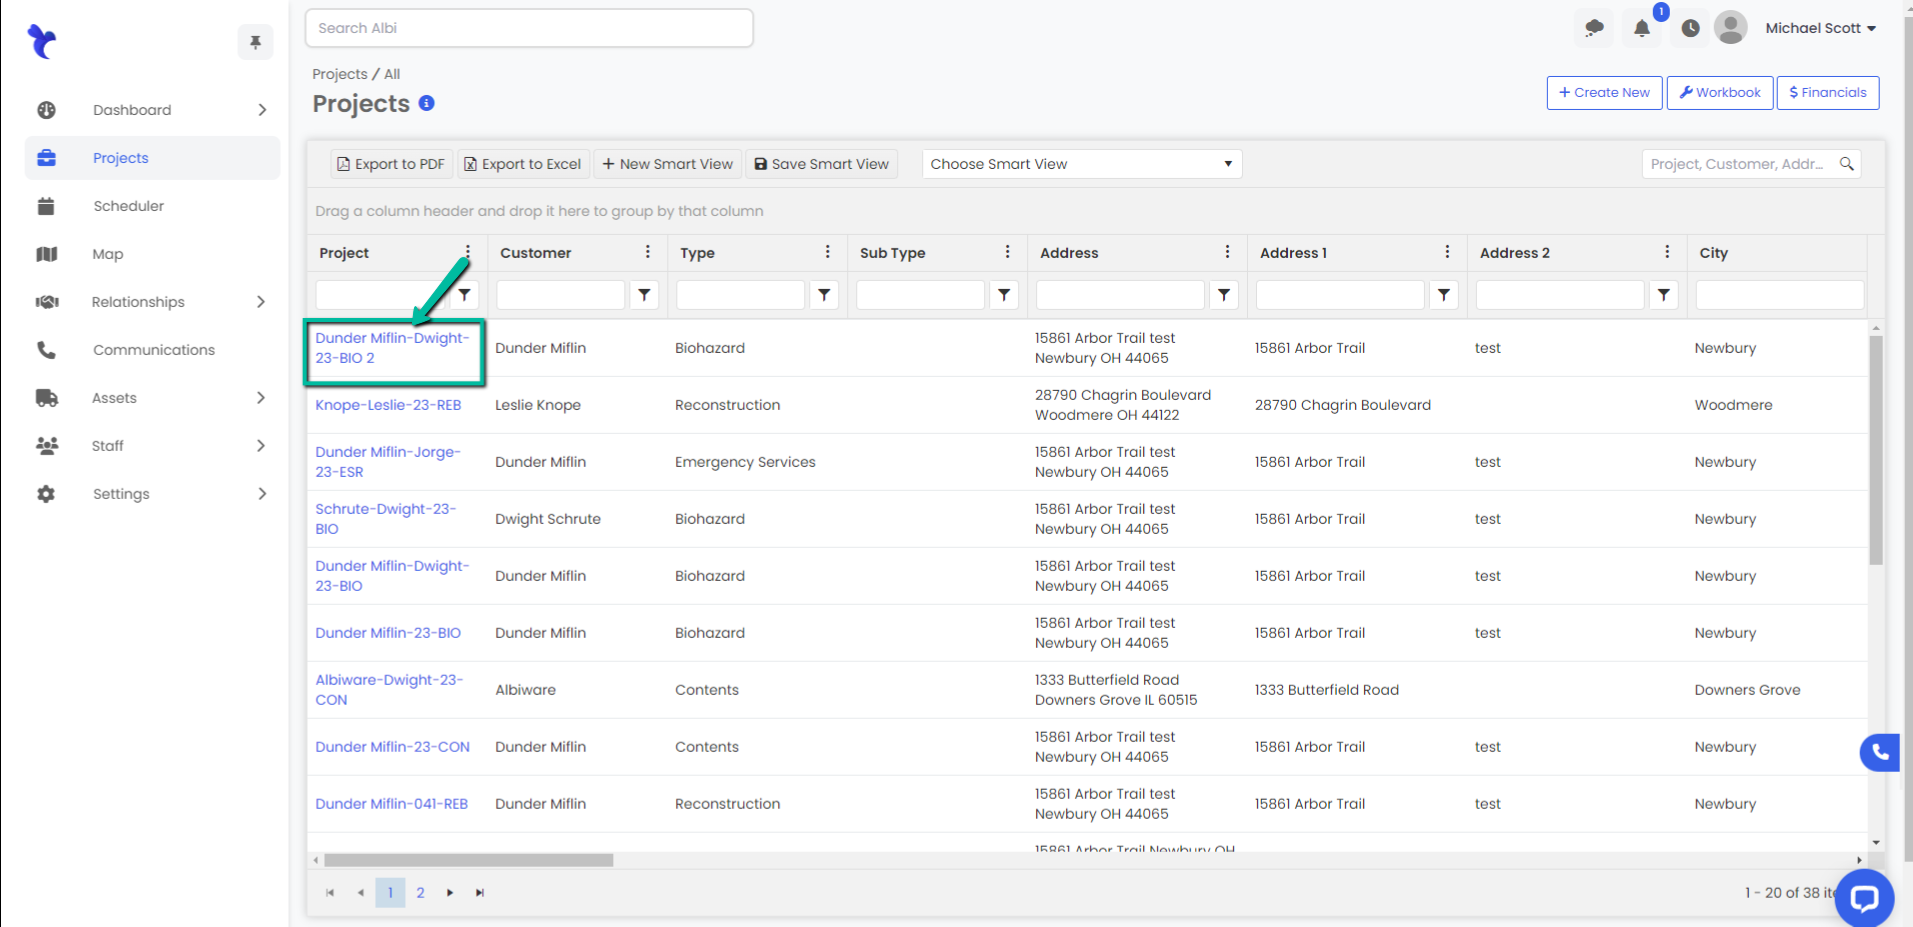
- Navigate to the Projects module using the sidebar and click on the Manage button to the right of the project or click the Project Name you would like to edit to add equipment to.

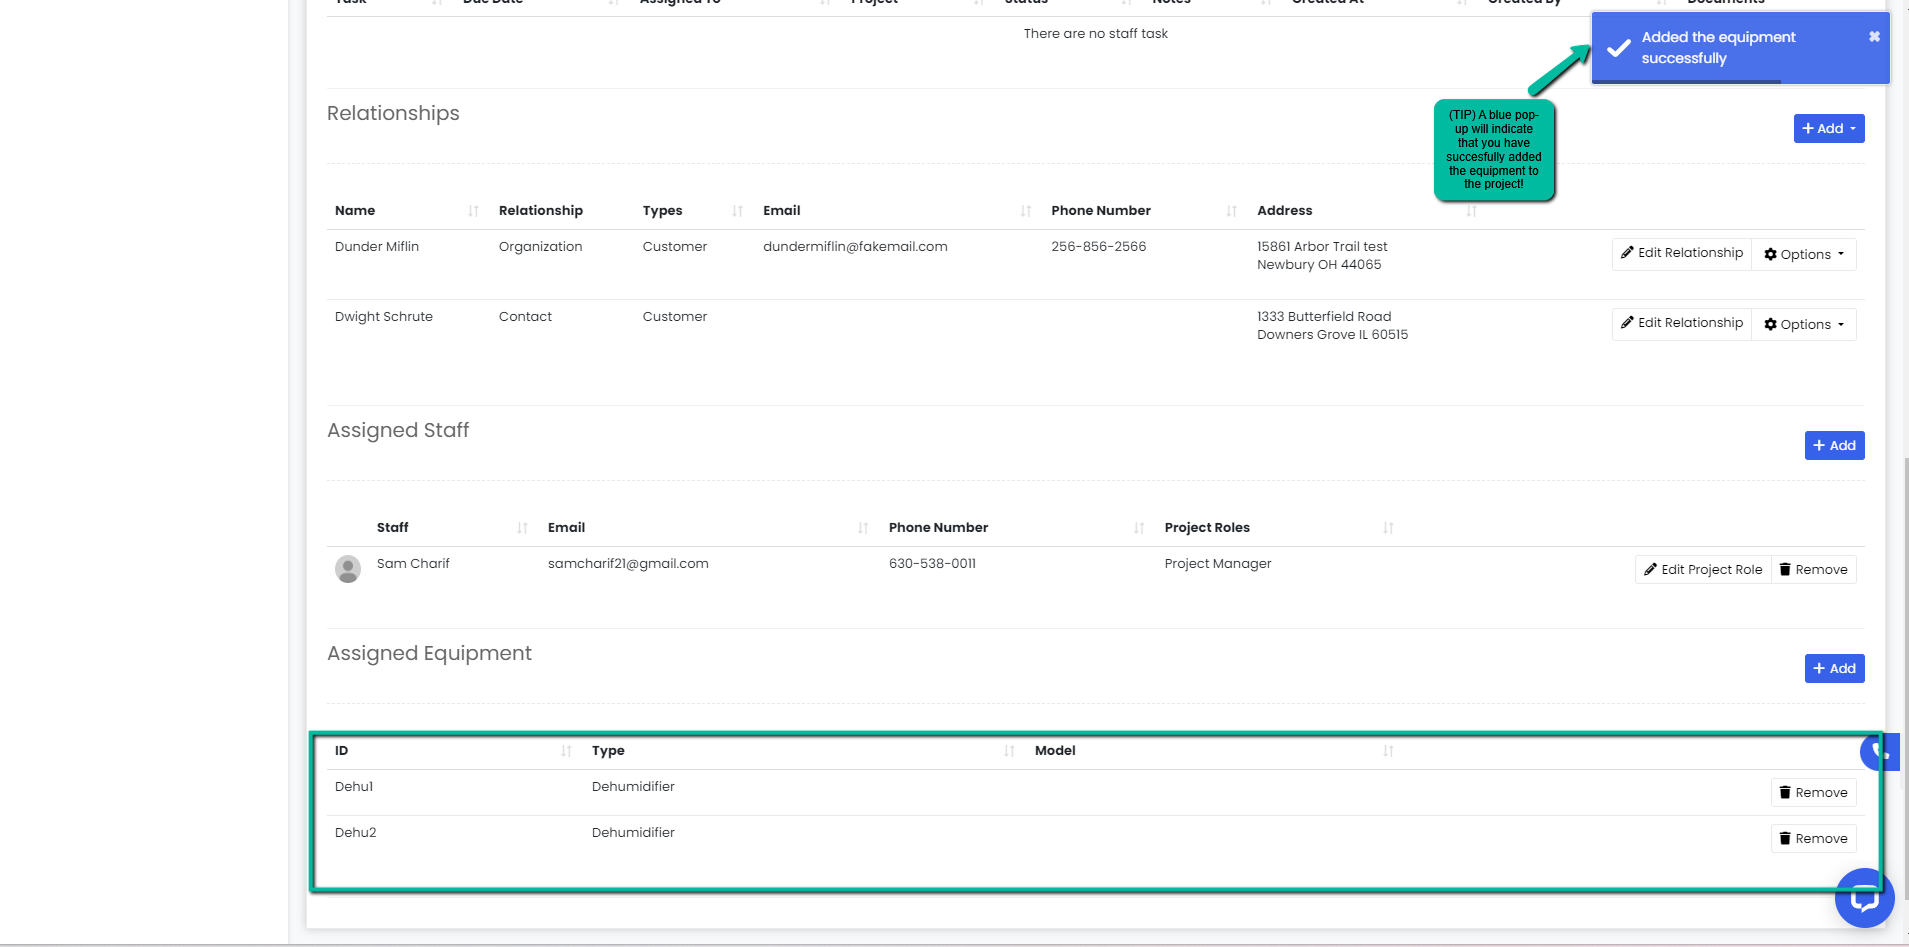
2. Scroll down to the Assigned Equipment section of the Basic Info tab, then click on the blue Add button to the right.

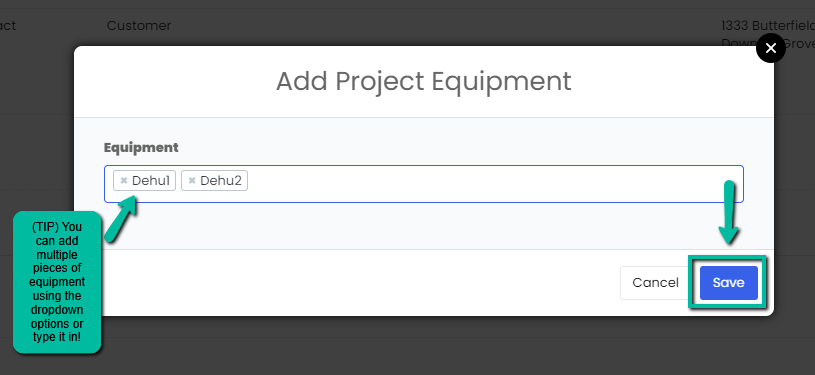
3. An Add Project Equipment modal will pop-up. Type in or select from the drop down, the equipment(s) you want to add. Click the blue Save button to save changes.
4. A blue pop-up notification will indicate you have successfully added equipment, these will now appear in the Assigned Equipment section.
Removing Equipment
- Navigate to the Projects module using the sidebar and click on the Manage button to the right of the project or click the Project Name you would like to edit.

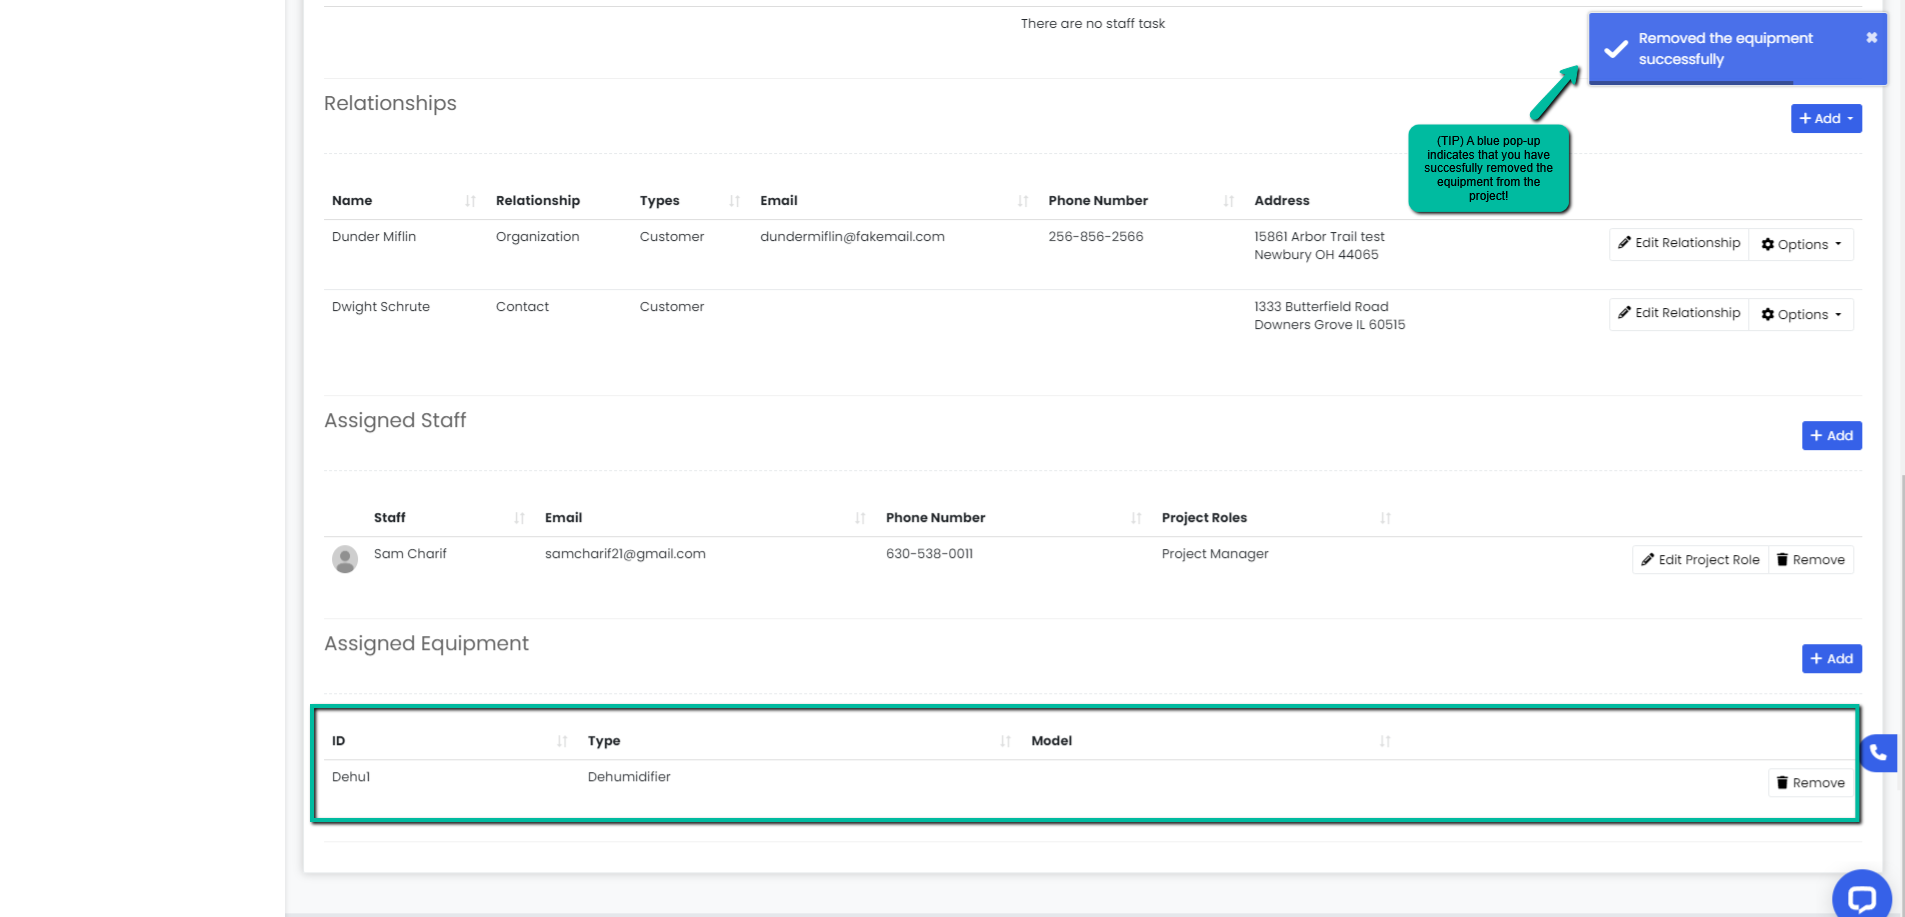
2. Scroll down to the Assigned Equipment section of the Basic Info tab, then click on the Remove button to the right of the equipment you would like to remove.

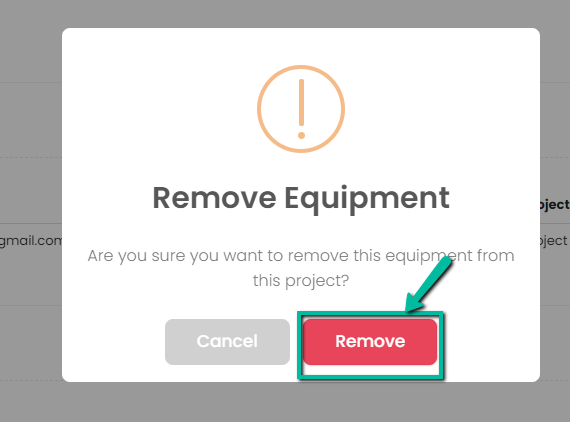
3. A Remove Equipment modal will pop-up. Click the red Remove button to proceed.
4. A blue pop-up notification will appear on the top right indicating you have successfully removed the selected equipment. You will no longer see it under the Assigned Equipment section.