How to create a new user in Albi?
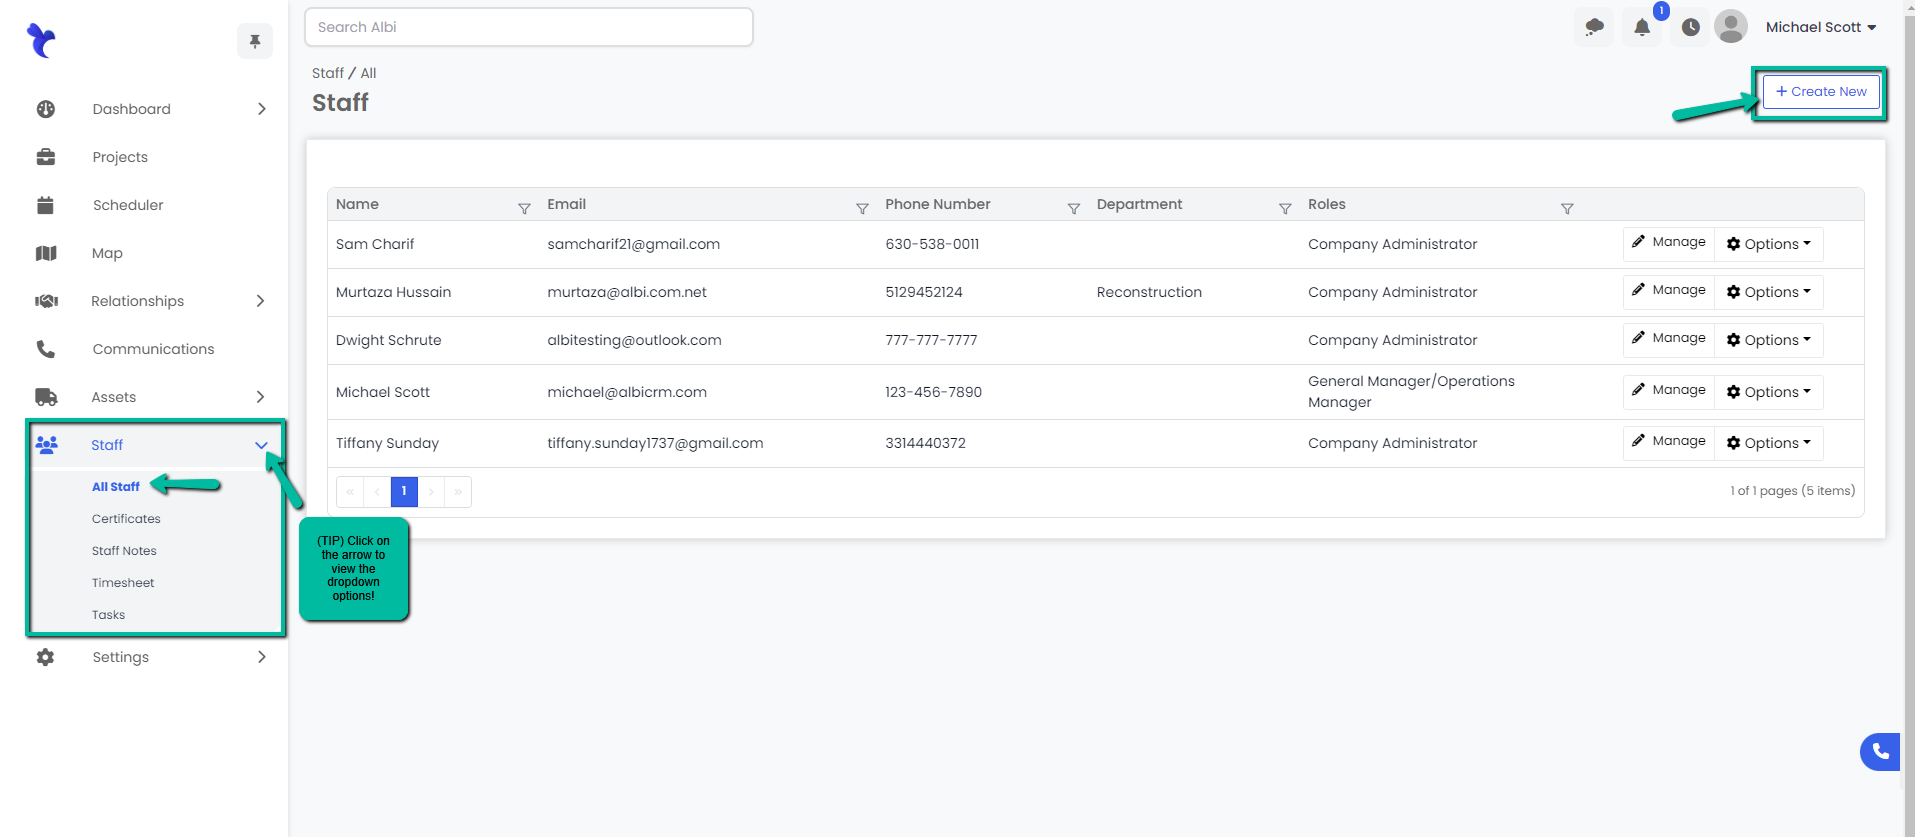
To create a new staff member, go to Staff> All Staff > Create new and fill out the required fields.
Creating a New Staff Member
- Navigate to the All Staff page using the sidebar and click on the Create New button.

2. You will be directed to the New Staff form. This is where you will fill in your staff member’s information. Keep in mind that the bold fields are required in order to submit the form.

Explanation of fields:
Mobile app pin: For ease of use, our mobile app has a digit pin instead of a password. Setting or resetting a pin can be done here.
Locations: One staff member can have access to multiple locations. Locations are the different offices your company may have. By selecting the location(s) the user will only have access to the projects assigned to that specific location.
Roles: These are the staff roles that are set up in settings>staff and have to do with what the users can or cannot see in the software.
Project Roles: These are the different project roles that a user can have on a project. Can a user be one or more of the following?: Project manager, call-taker, salesperson, etc. You can customize your project roles under settings>project>roles.
"Communications Enabled": By giving the user communication access they will be able to access our built-in VoIP feature. Note: the user will be billed as a PRO user if they're given this access.
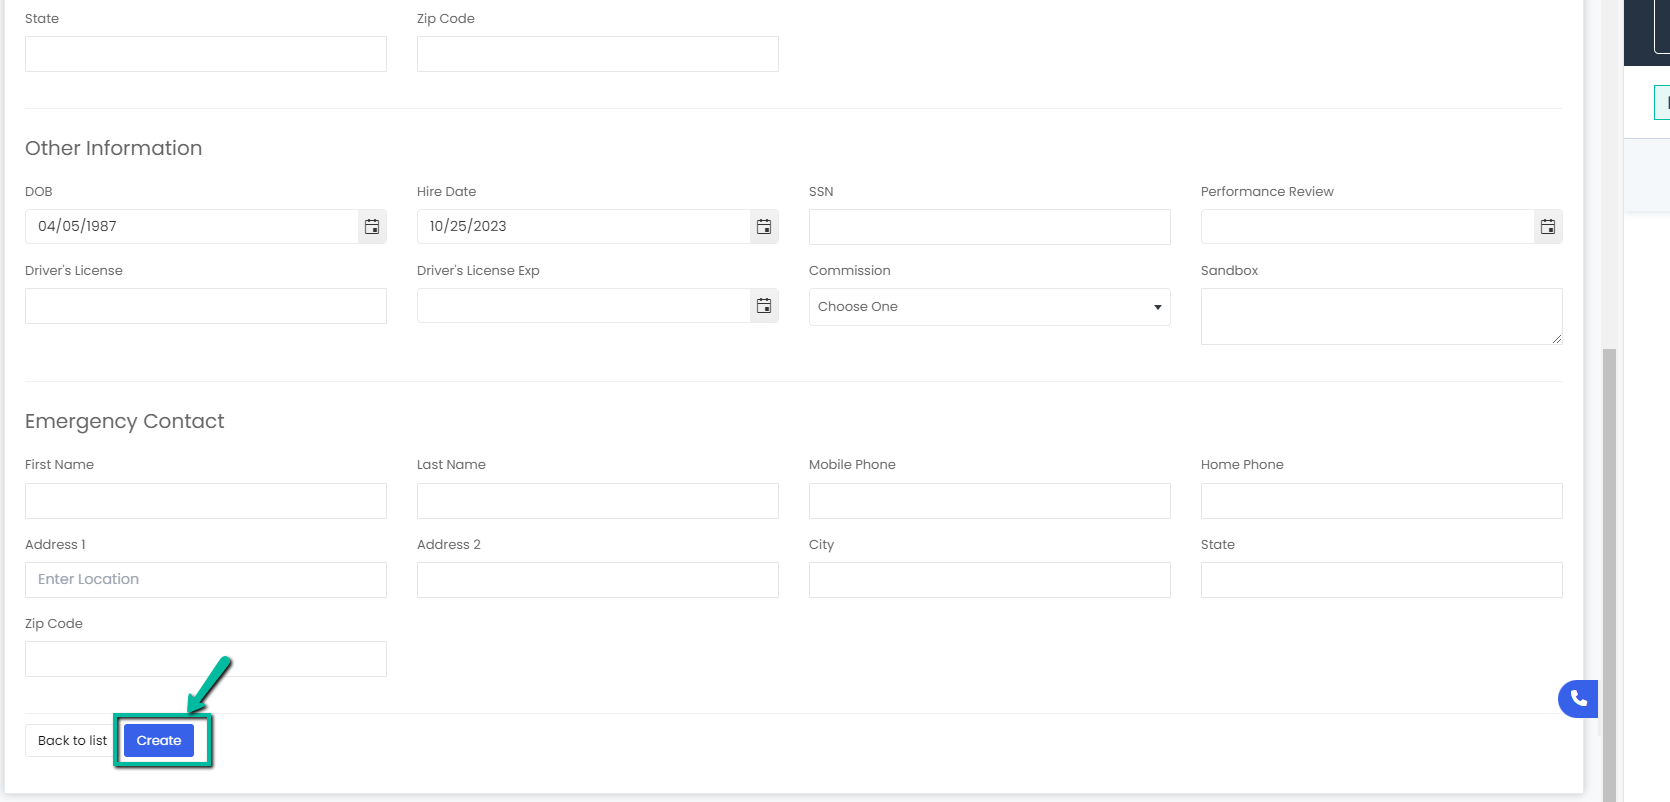
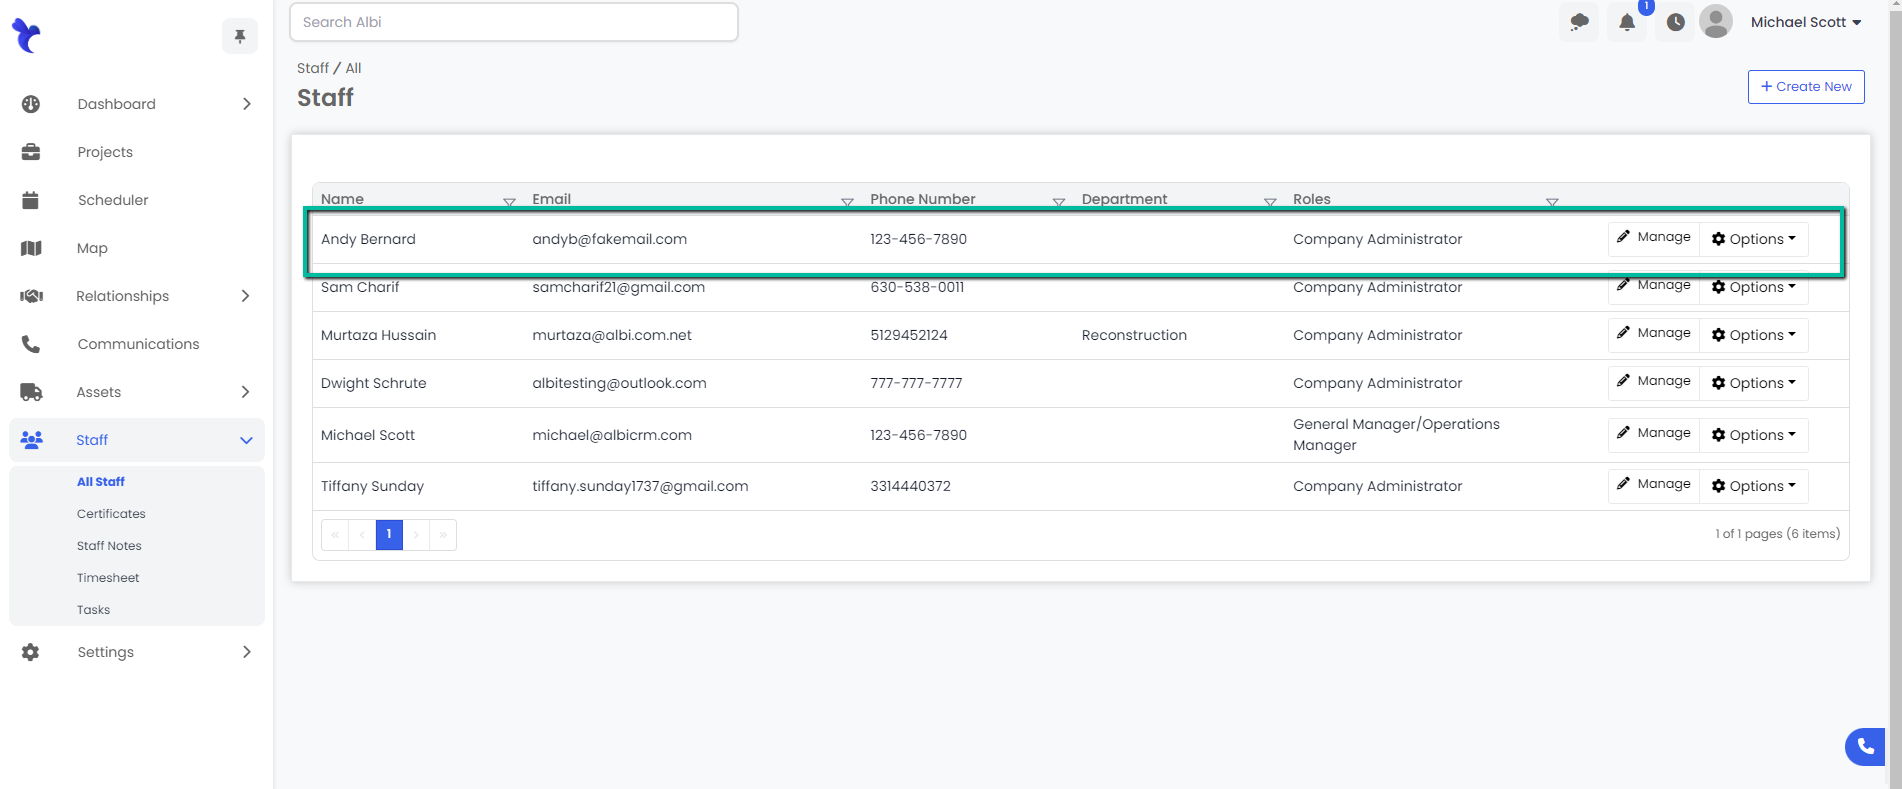
3. Click the blue Create button on the bottom left to save your new staff member. You should now be able to see your new staff in the table.


