Adding Dates
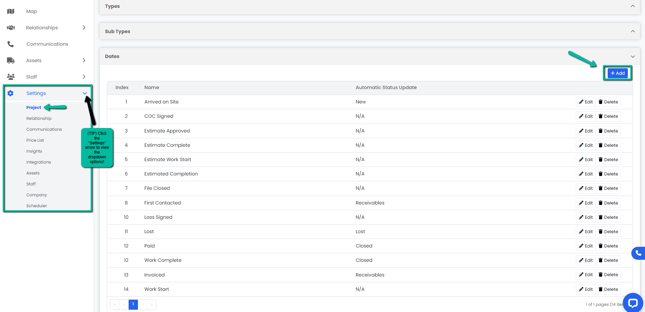
- Navigate to the Settings module and go to the Project page. Select Dates and click the Add button on the right hand side.
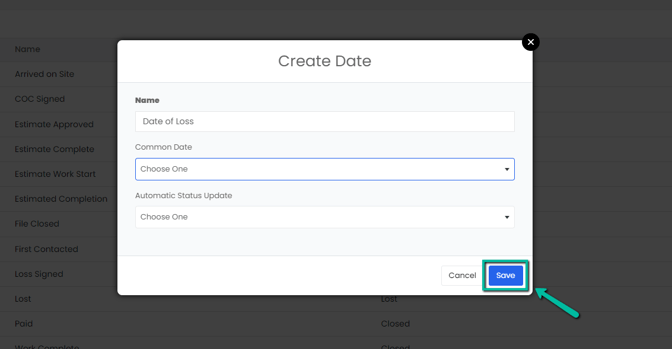
2. A Create Date modal will appear. Add the name of the new date type you want to add and click the blue Save button.
3. A blue pop-up notification will appear on the upper right corner of the screen indicating you have successfully created a new date type. Your new date will immediately appear on the Dates tab. 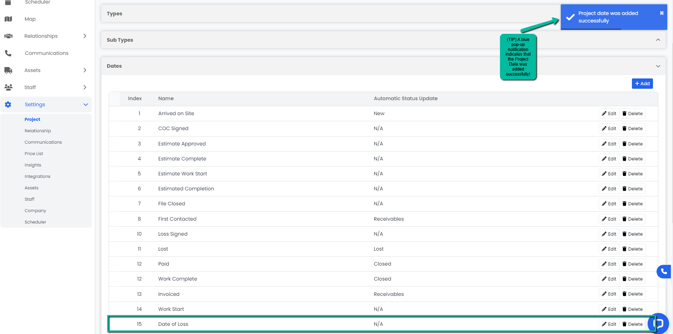
Keep in mind that these dates are the ones that will appear in the Dates tab for your project. You can also select if you would like to have that date to trigger a status change for your project, if so this will be visible in the stepper and also within the basic info section of that project.
Editing a Date
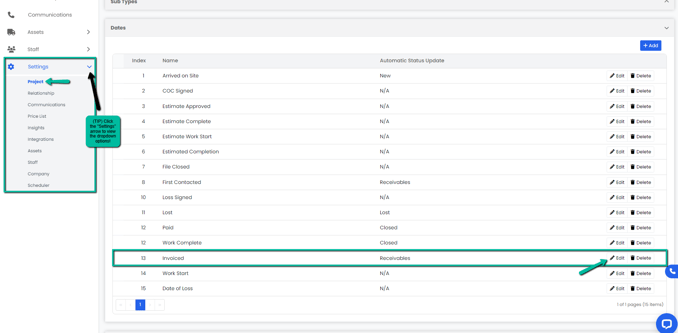
- Navigate to the Settings module and go to the Project page. Select Dates and click the Edit button on the right hand side of the date you would like to edit.
2. An Edit Date modal will appear. Make necessary changes and click the blue Save button to continue. 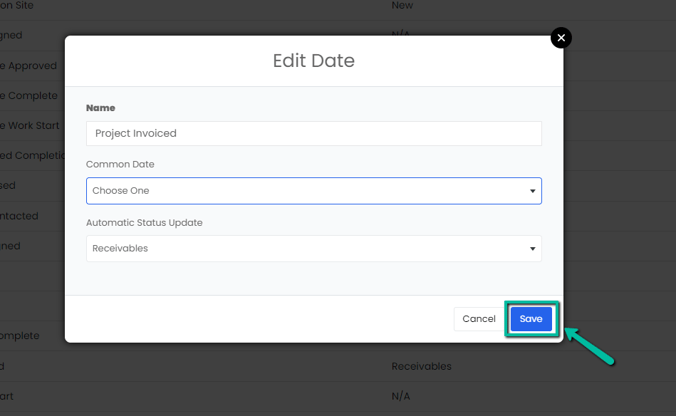
3. A blue pop-up notification will appear on the upper right corner of the screen indicating you have successfully updated the date type. Your changes will immediately appear on the Dates tab. 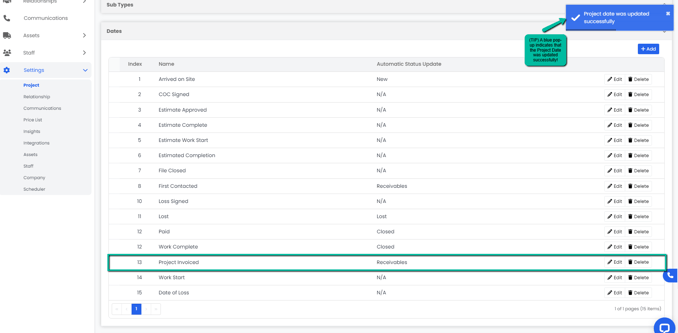
Deleting a Date
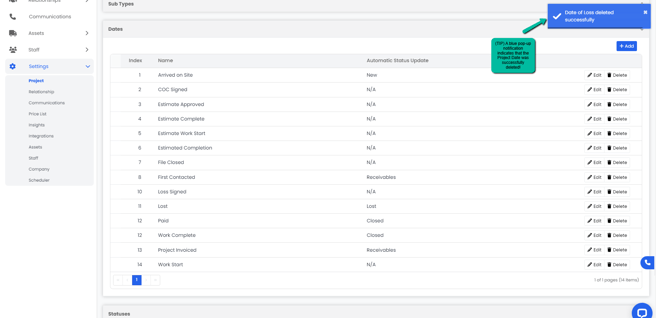
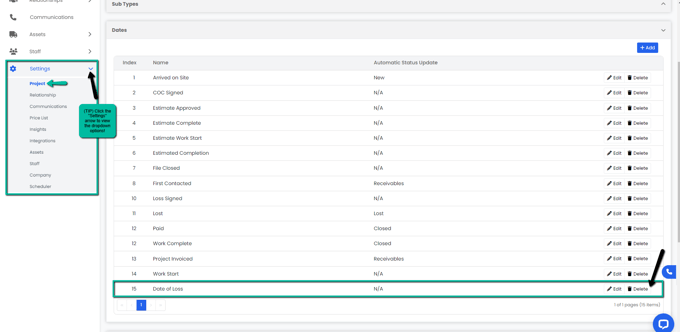
- Navigate to the Settings module and go to the Project page. Select Dates and click the Delete button on the right hand side of the date type you would like to delete.
2. A Delete Project Date modal will appear. Click the red Delete button. 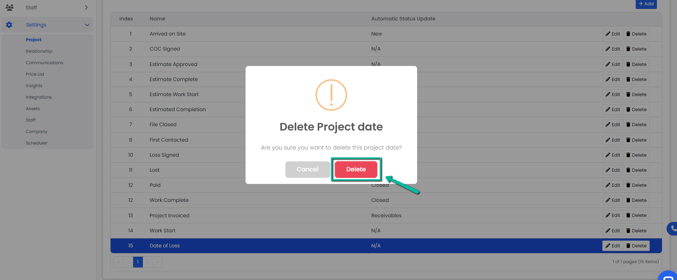
3. A blue pop-up notification will appear on the upper right corner indicating that you have successfully deleted the date type. Your changes will immediately be visible in the Dates tab.