How do I add, edit, disable/enable a file?
In this short article we will learn how we can add, edit, enable or disable a file within the project settings. Keep in mind these files are those that will be included in the file manager for your different projects/jobs.
Adding a File
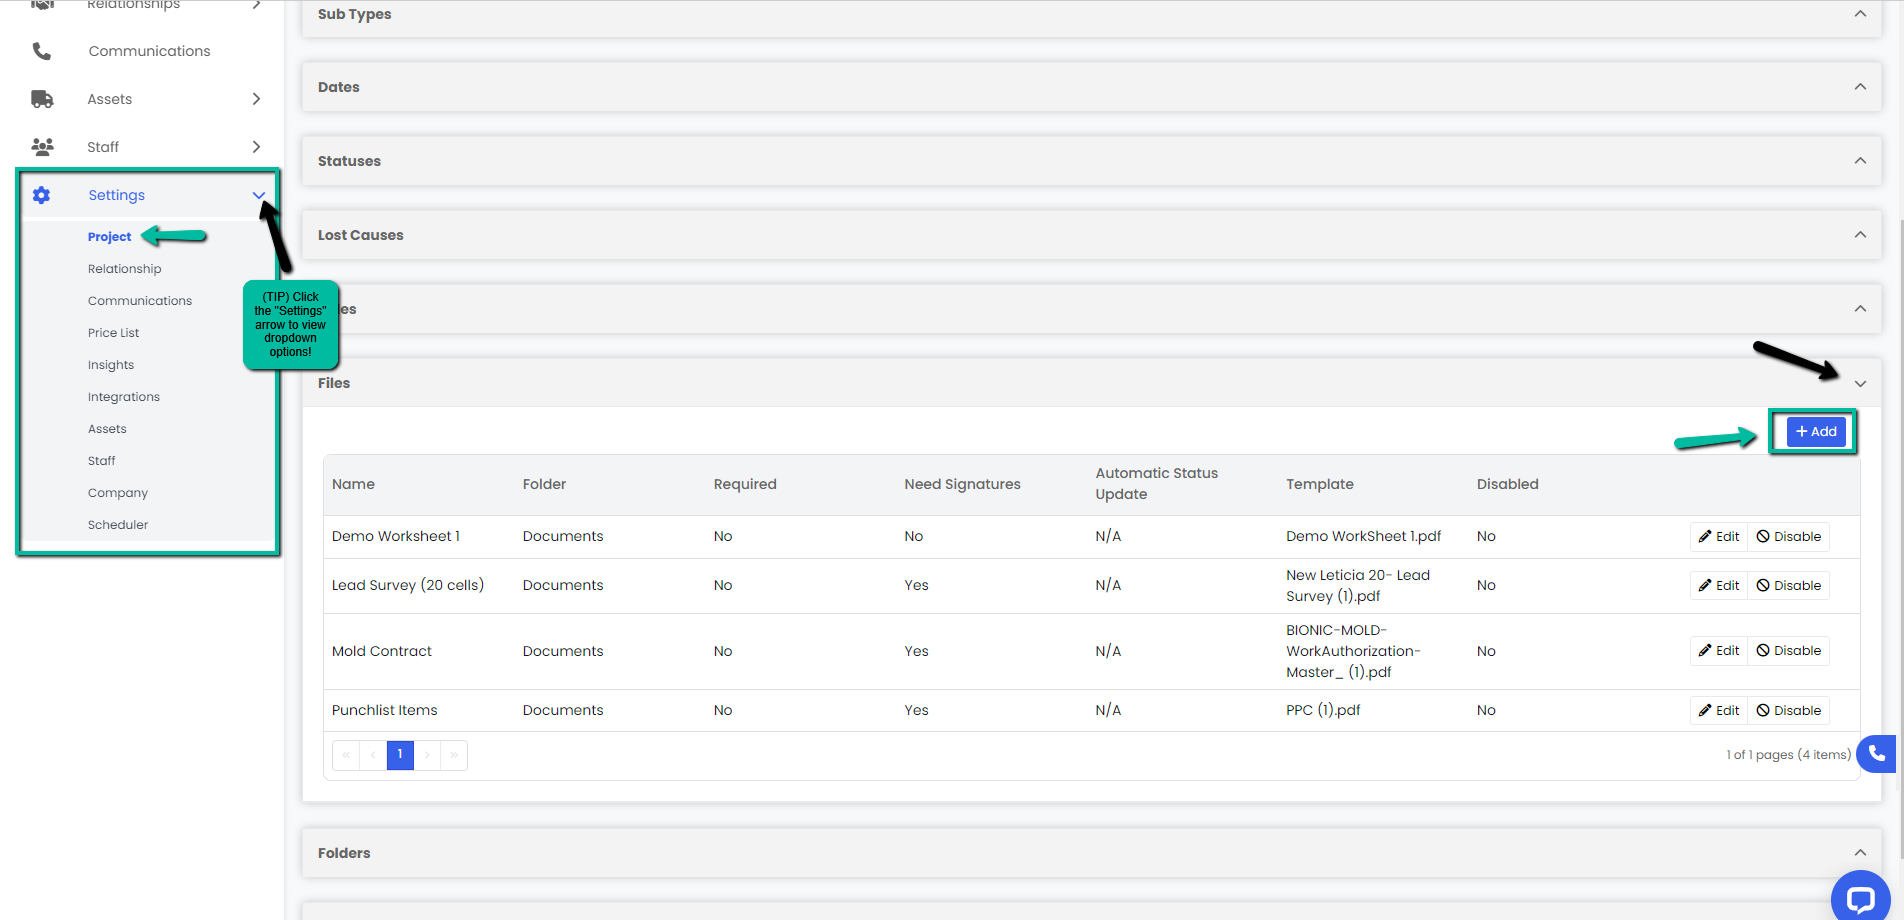
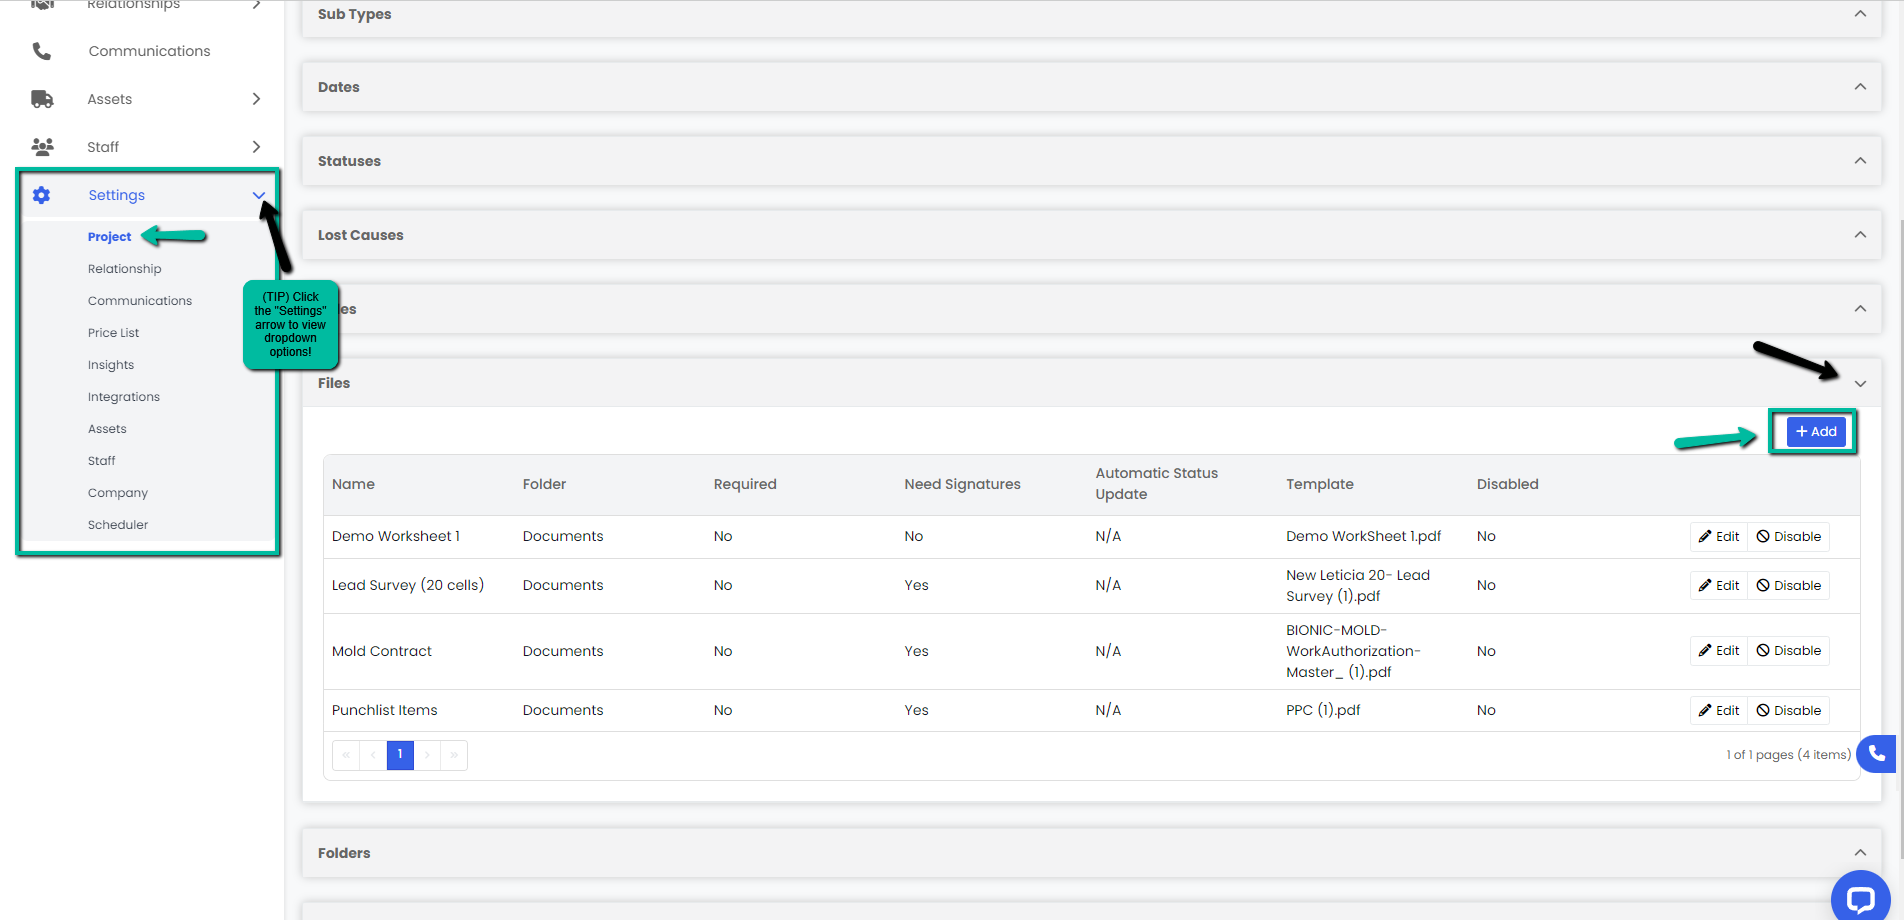
- Navigate to the Settings module and go to the Project page. Select Files and click the Add button on the right hand side of the tab.
2. A Create File modal will appear, type in the name for your and click the blue Save button.
Tips:
- Select what folder you would like include that file in.
- Select whether that file in particular will need to trigger an automatic status update. Example: Work Authorization gets signed and it will change the status to In Production.
- Select whether that file will be required in order to perform the job or before closing.
- Select if that file requires signatures.
- If that file created has a template to upload make sure you select the file.
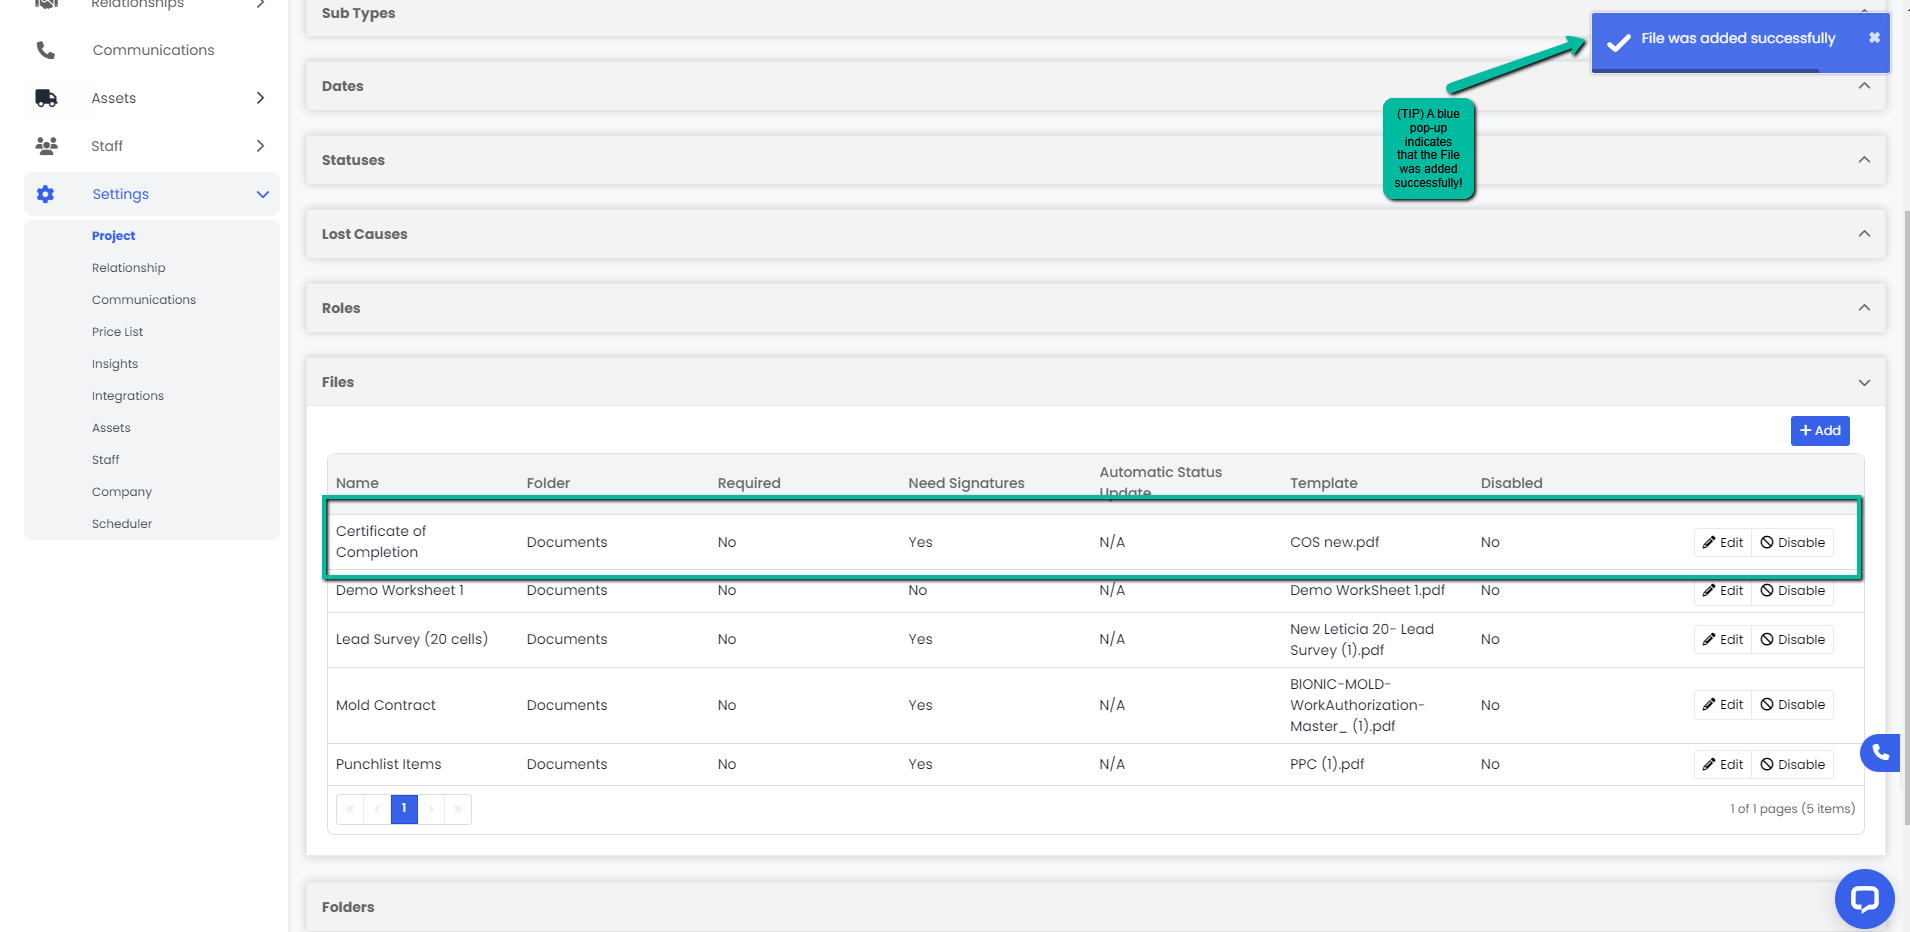
3. A blue pop-up notification will appear on the upper right corner indicating that you have successfully added a new file. Your changes will immediately appear on the Files tab.
Editing a File
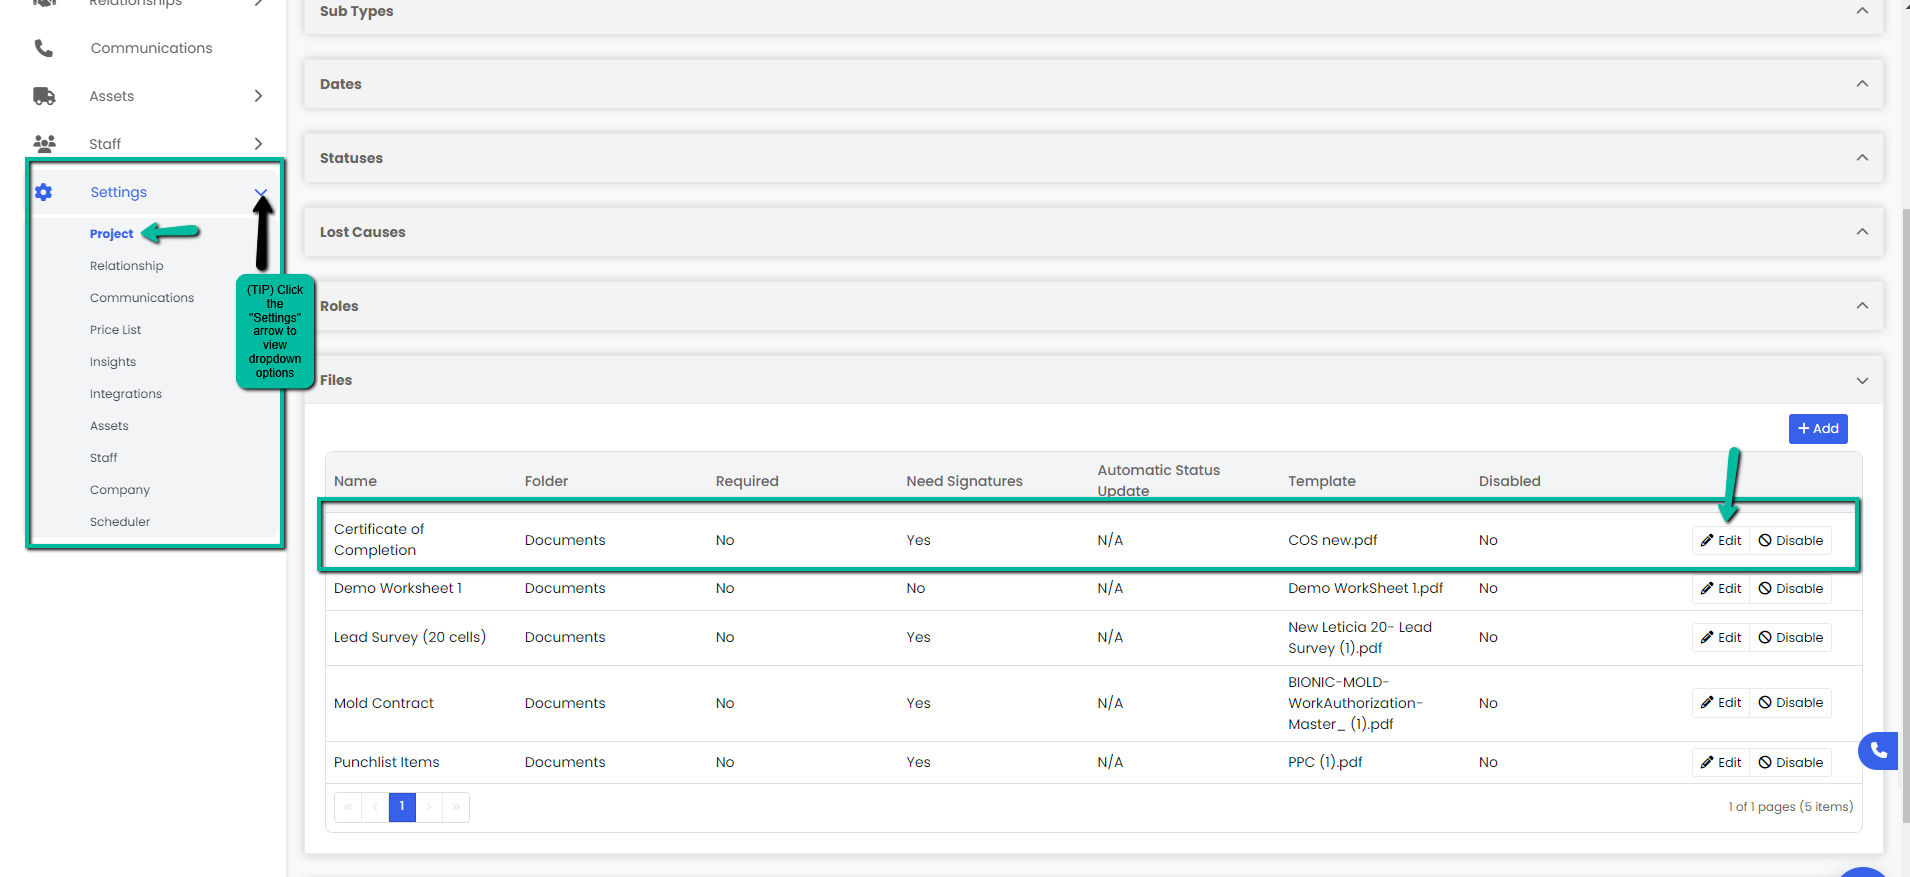
- Navigate to the Settings module and go to the Project page. Select Files and click the Edit button on the right hand side of the row you would like to edit.
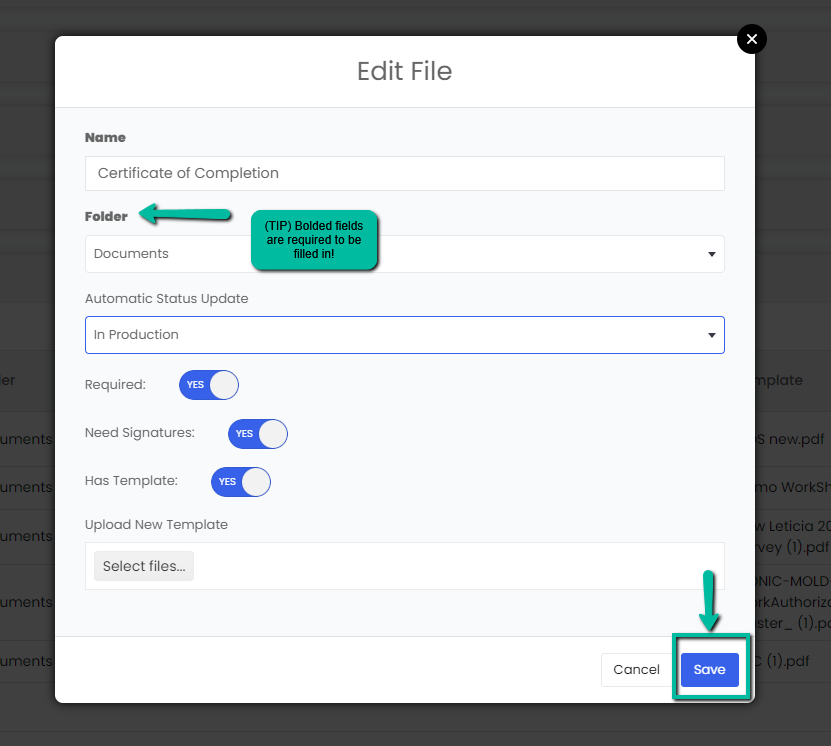
2. An Edit File modal will appear, make necessary changes and click the blue Save button to continue.
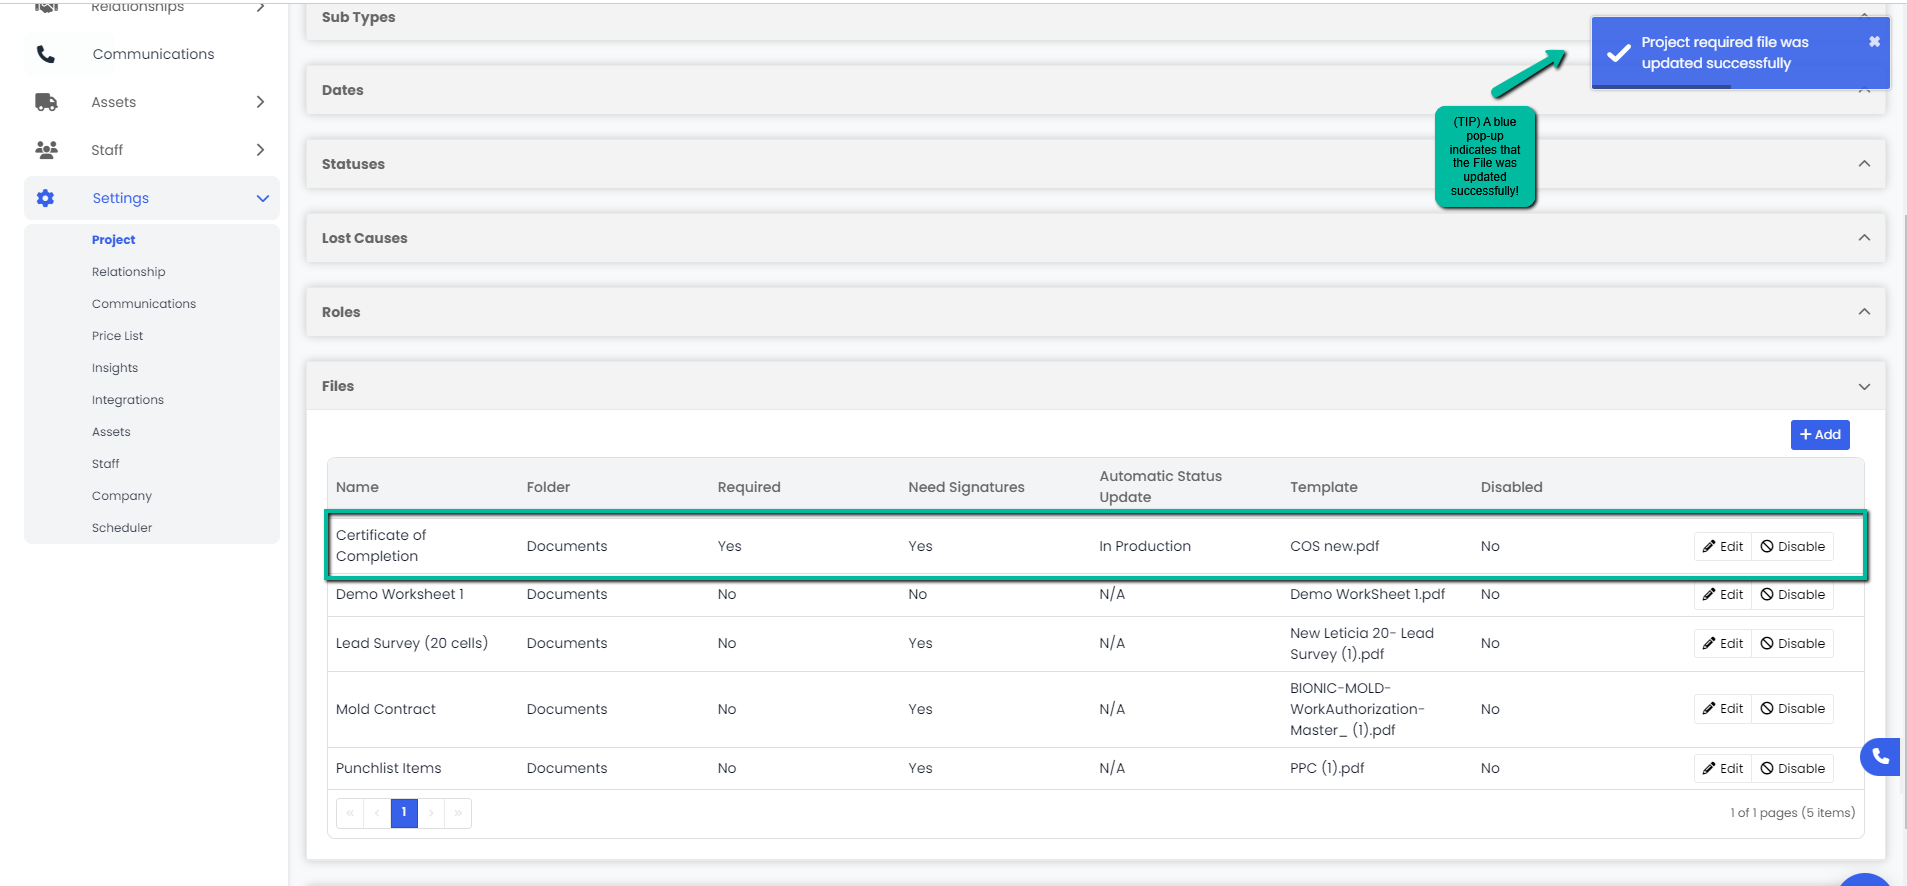
3. A blue pop-up notification will appear on the upper right corner of the screen indicating you have successfully updated the project file. Your changes will immediately appear on the Files tab.
Disabling/Enabling a File
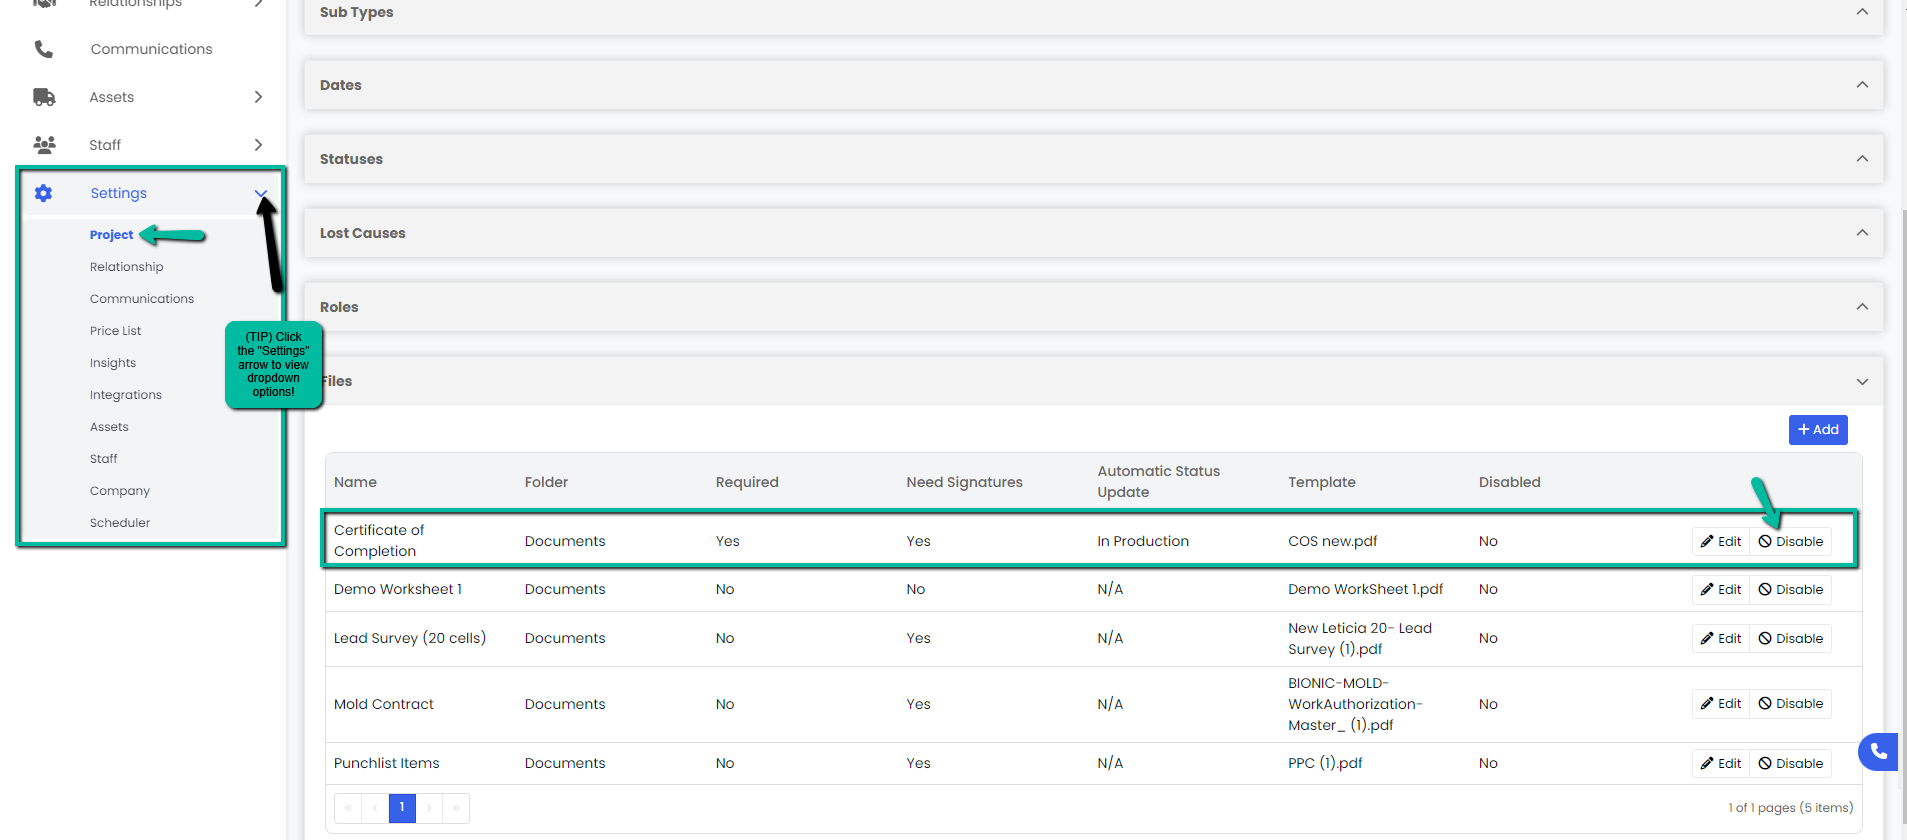
- Navigate to the Settings module and go to the Project page. Select Project and click the Disable/Enable button on the right hand side of the row you want to edit.
3. A Disable File modal will appear, click the red Disable button to proceed.
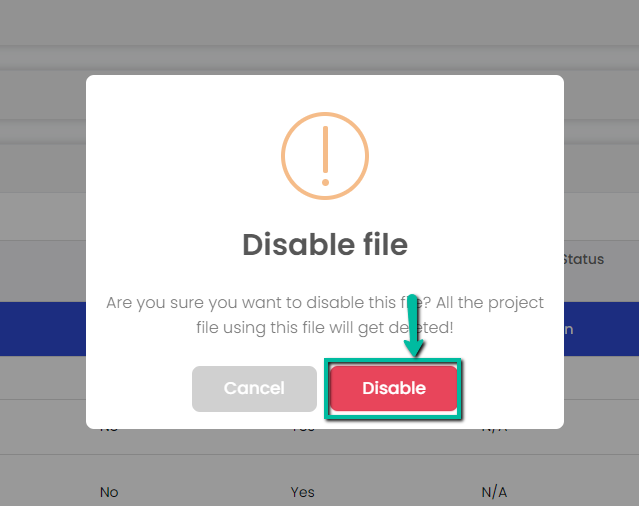
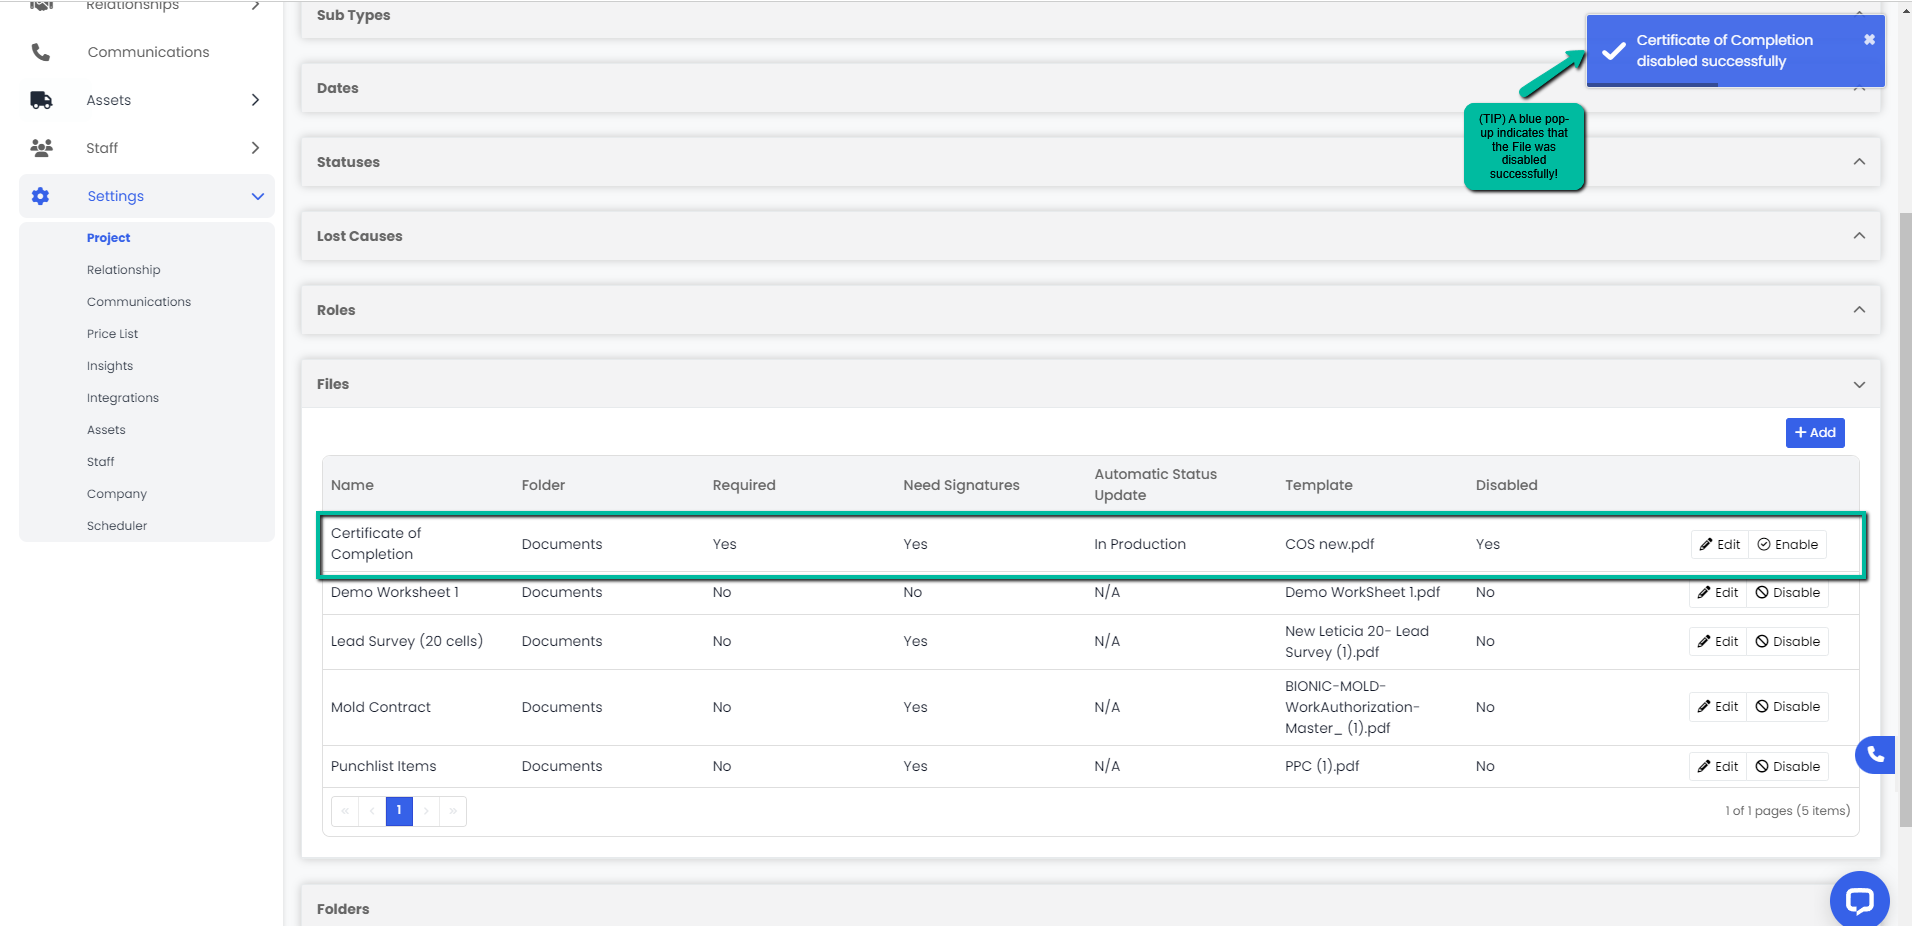
3. A blue pop-up notification will appear on the upper right corner indicating that you have successfully enabled/disabled the project file.Your changes will immediately appear on the FIle tab.
