Setting Up Albi Pay
Setting up Albi Payments allows your company to streamline transactions and manage payments efficiently within the Albi platform. This guide will walk you through the steps to enable and configure Albi Payments, ensuring you have the necessary permissions and understand the process from start to finish.
Required Permissions
To set up Albi Payments, you must have the 'Manage Company' permission. This access allows you to configure payment settings and manage permissions within your organization.
Important Note:
Payment requests with a status of Requested will not appear in the Payments Dashboard. A payment will only display in the Payments Dashboard after its status changes from Requested to another status (such as Processing, Completed, or Failed).
While a payment is still in the Requested state, it can be viewed from the project’s Payments tab, not the main Payments Dashboard.
Getting Started
Follow these steps to begin setting up Albi Payments:
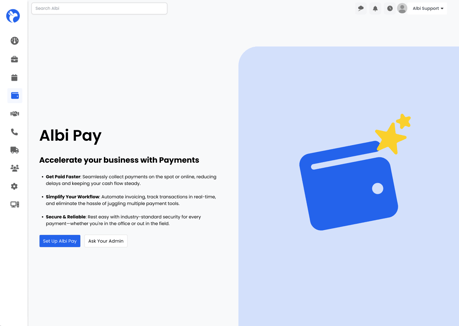
- Access Albi Payments:
- Navigate to the Albi dashboard.
- Click on the wallet icon in the navigation bar to access the Albi Payments screen.
- Initiate Setup:
- On the Albi Payments screen, click 'Set Up Albi Payments' to begin the setup process.
- Only users with 'Manage Company' permissions will see this option and be able to proceed.
Onboarding Process
The onboarding process involves submitting key business and financial details for verification.
- Provide Necessary Information:
- Fill in all required fields, including your business name, contact details, and financial information.
- Review and confirm the accuracy of all entered information before submission.
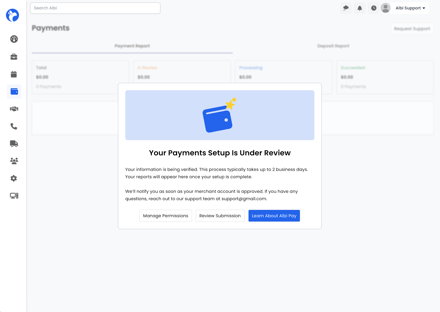
- Submission and Review:
- After submission, your details will go through a review process that typically takes up to two business days.
- During this period, you can check the status of your submission and make any necessary adjustments.
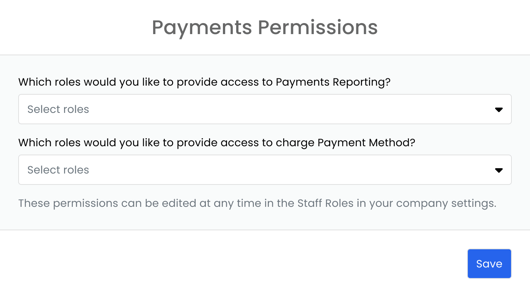
Managing Permissions
Once Albi Payments is set up, you can manage permissions for your team members to ensure proper access and security.
- Access to Payment Reporting:
- Grant team members permission to view the payment reporting page.
- This page provides insights into all transactions and financial data linked to Albi Payments.
- Charging Payment Methods:
- Assign permissions to specific team members to process payments directly.
- This ensures that only authorized personnel handle financial transactions.
Final Steps
Once your setup is approved, follow these final steps:
- Review and Activate:
- Ensure all payment settings are correctly configured before activation.
- Inform and train team members who have been assigned permissions.
- Monitor and Adjust:
- Regularly monitor payment processes and user permissions.
- Make necessary adjustments to accommodate changes in business operations or team structure.