
Starting a Signature Request
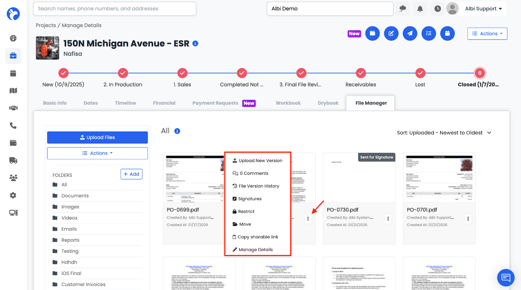
- Click the file’s ⋯ menu
- Select Signatures
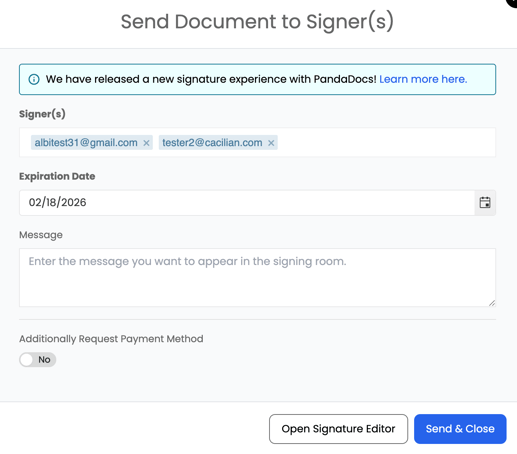
- Enter the recipient’s email address (required)
- Names alone will not work. You must enter a valid email address for each signer.
- As you type, staff members and any relationships linked to the project may appear as suggestions, but a valid email address is still required for every signer.
- You can add one or more signer email addresses
- If more than one email address is added, each address must be assigned a signature box.
- Users cannot be added to a document for view-only access. All listed email addresses must be signers. If a user does not need to sign, they may download the document after it has been signed.
- Set an expiration date
- This field is required
-
- If not changed, it defaults to 90 days
- If not changed, it defaults to 90 days
- Add a message (optional)
Optional:
- Enable Request Payment Method
- This option is only available if Albi Pay is enabled on your account.
- First name (required)
- Last name (required)
- Referral source (required)
- Type (required)
Choose:
- Send and Close, or
- Open Signature Editor
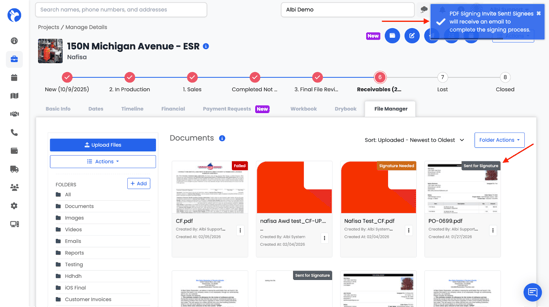
After sending the document, a confirmation pop-up will appear and the document status will change to “Sent for Signature.”
Note:
- If there is more than one signer, you must open the Signature Editor and manually place signature boxes for each signer.
- If signature boxes are not placed, they will default to a blank page in the document.