
Uploading Files
How to Upload Files
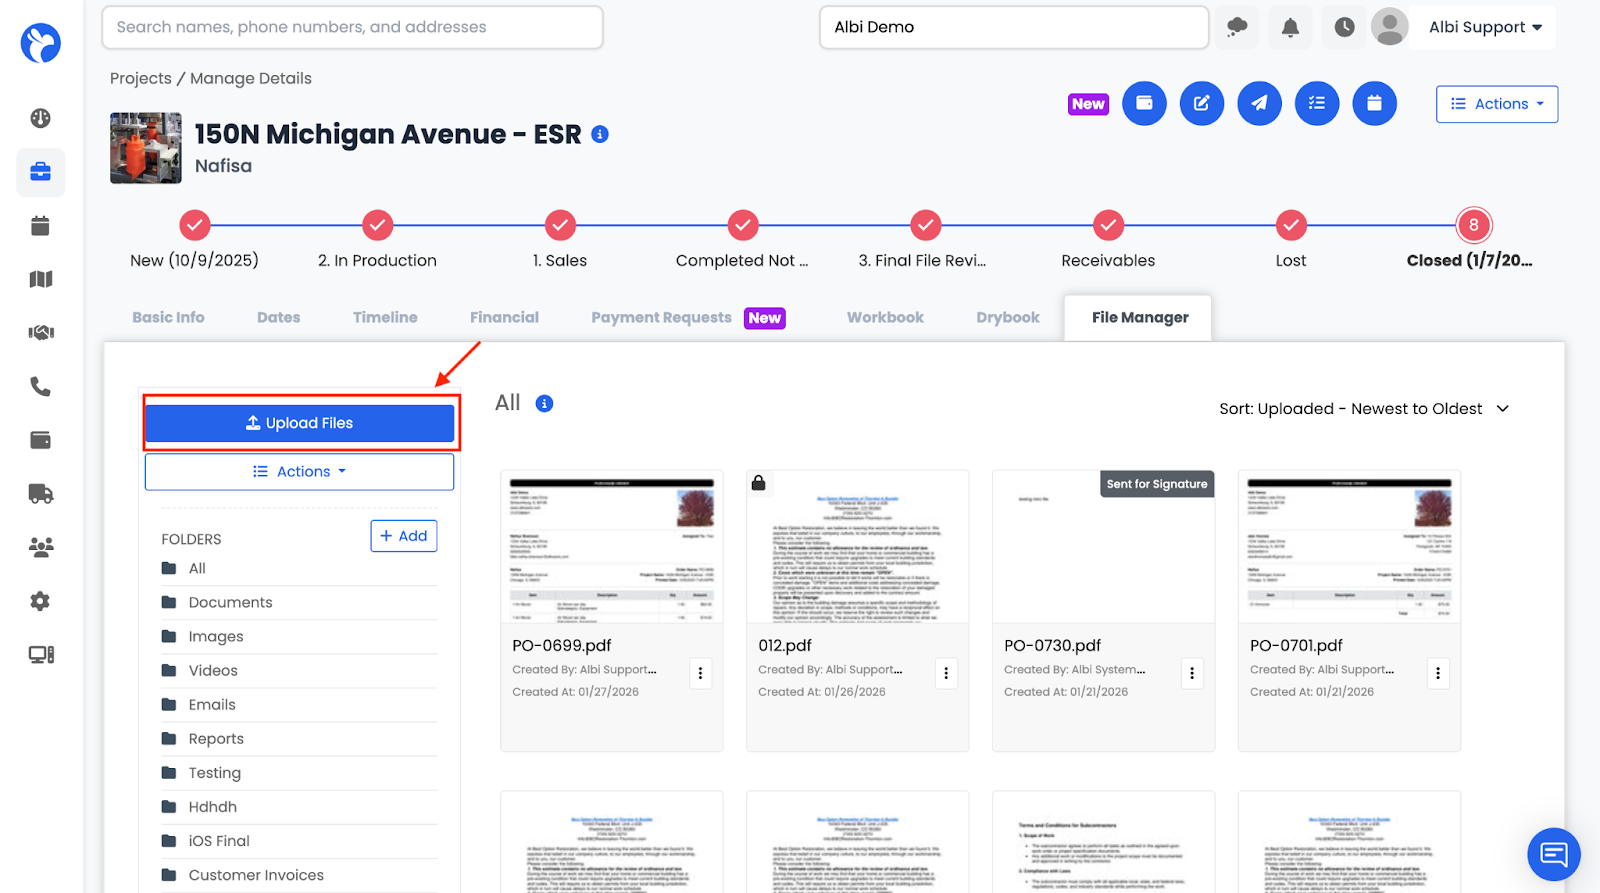
- Click Upload Files
- Select a folder (required)
- Upload files from your device
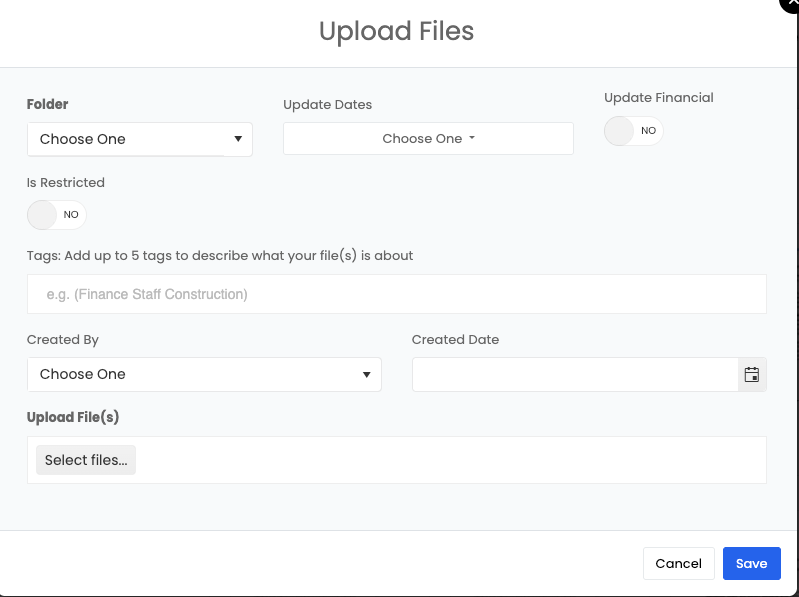
- Fill out additional details (Optional) :
- Tags (up to 5)
-
- Created by
-
- Created date
-
- Restrict file access
-
- Update financials (if available)
- Update financials (if available)
5. Click Save
Once saved:
- The file appears under All
- The file also appears in the selected folder
- The file is saved only to the current project and will not appear in other projects
Note:
If you want fields on your documents to be automatically populated—such as project basic information or signature fields—we recommend having Albi digitize the document for you.
Once a document is digitized by Albi, our team will upload it and apply it to the appropriate project types on your behalf. After that, your team will simply need to stamp the document to project files using the Actions button.
This ensures consistent formatting, accurate data population, and a smoother workflow across all projects.
Updating Financials When Uploading
If the Update Financials toggle is available, you can update:
- Estimated revenue
- Budgeted amount
- Accrued revenue
- Cash amount

These values are saved with the file and reflected in project financials.
